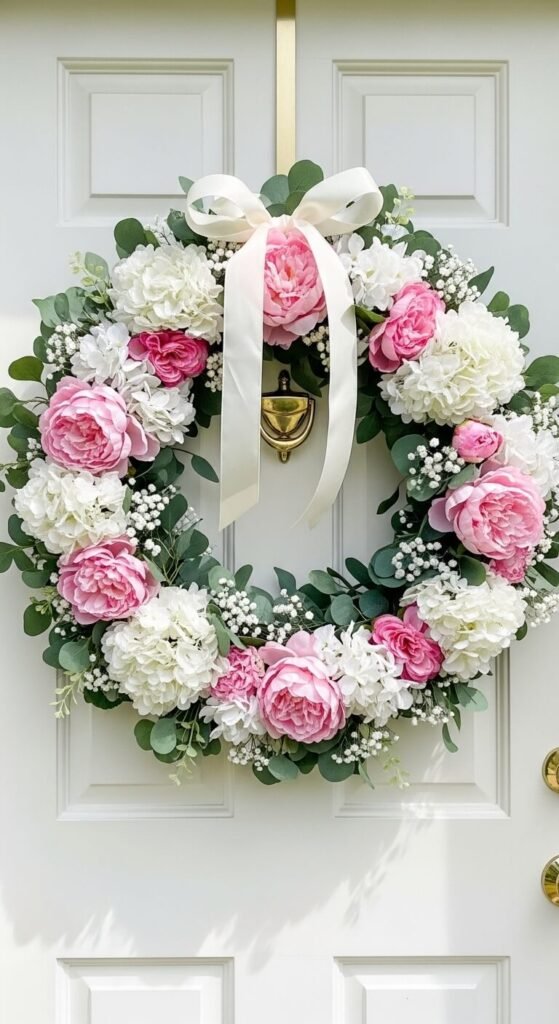
There’s something magical about opening your front door to a gorgeous spring wreath bursting with fresh blooms and cheerful colors. But here’s the secret: you don’t need to drop $80+ at a boutique to get that professional, curated look. With a few simple supplies and about 30 minutes of your time, you can create a stunning spring wreath that’ll have your neighbors asking where you bought it.
Trust me—if I can do this without any prior crafting experience, so can you. Let’s dive in!
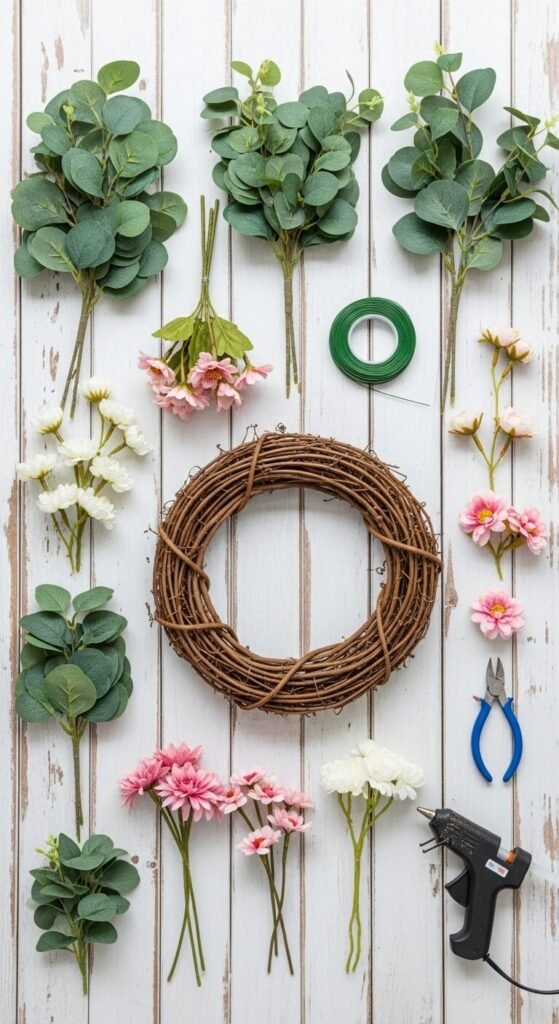
What You’ll Need
The key to a store-bought look is using quality materials. Here’s your shopping list:
- Grapevine or wire wreath base (14-18 inches works best)
- Floral wire (green, 22-24 gauge)
- Wire cutters
- Hot glue gun and glue sticks
- Faux flowers in 2-3 complementary colors (I love blush pink, cream, and soft yellow for spring)
- Greenery (eucalyptus, ferns, or lambs ear)
- Filler flowers (baby’s breath or small wildflowers)
- Optional: ribbon (2-3 inches wide, wired edge)
Pro tip: Hit up your local craft store during their 50% off floral sales. You can snag high-quality silk flowers for a fraction of the price!
Step 1: Create Your Greenery Base
Start by building your foundation with greenery—this is what makes your wreath look full and expensive.
Cut your greenery into 6-8 inch pieces. Using floral wire, attach small bundles to your wreath base, working in one direction around the circle. Overlap each bundle slightly to hide the wire and create depth. Don’t be shy here—the fuller, the better!
The secret? Layer different types of greenery for texture. Mix eucalyptus with ferns or add some wispy asparagus fern for movement.
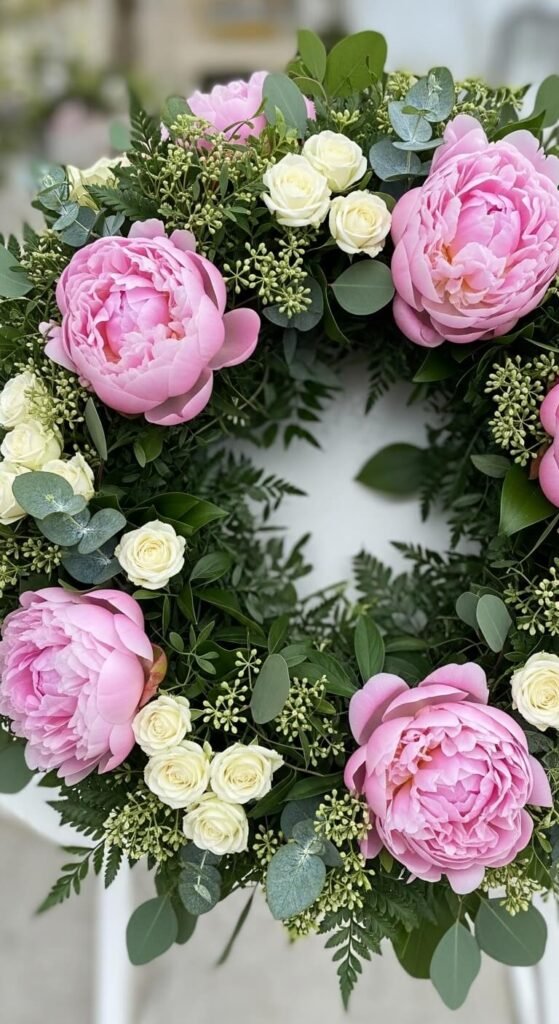
Step 2: Add Your Statement Flowers
Now for the fun part—your focal flowers! These are your show-stoppers: think peonies, hydrangeas, or garden roses.
Choose 3-5 large blooms and position them around the wreath in a triangle pattern (yes, odd numbers are key for that designer look). Don’t place them symmetrically—asymmetry looks more natural and high-end.

Secure each bloom with hot glue or floral wire, tucking the stems deep into the greenery. Make sure they’re at slightly different angles—this creates dimension and keeps things from looking too “crafty.”
Step 3: Layer in Secondary Flowers
Time to fill in the gaps! Use smaller flowers in complementary colors to create visual interest.
Add these flowers in clusters of 2-3, focusing on the areas between your statement blooms. This creates a cohesive, flowing look rather than a polka-dot effect. I love using:
- Small ranunculus
- Spray roses
- Tulips
- Anemones
Vary the depth by pulling some flowers slightly forward and pushing others back into the greenery.
Step 4: Add Filler and Texture
Here’s where your wreath goes from “nice” to “WOW.” Baby’s breath, berries, or small wildflowers add that professional finishing touch.
Tuck these delicate elements throughout the wreath, letting some pieces extend beyond the edges for a wild, organic feel. This softness is what makes your wreath look like it was thoughtfully designed rather than assembled.
Step 5: The Ribbon (Optional but Gorgeous)
A flowing ribbon takes your wreath to the next level. Cut a piece 2-3 feet long and attach it to the bottom or side of your wreath using floral wire.
Let the ribbon cascade down naturally, and trim the ends at an angle for that polished look. Wired ribbon holds its shape beautifully, even in wind!

Quick Tips for That Store-Bought Finish
- Go fuller than you think. Sparse wreaths look homemade. Don’t be afraid to really pack in those flowers!
- Trim stems at angles. This helps them slide into your base more easily.
- Step back frequently. Check your wreath from a distance to ensure balance.
- Use high-quality faux flowers. The difference between cheap and quality silk flowers is night and day.
- Keep your color palette limited. 2-3 colors max for a cohesive, designer look.
Save This for Spring!
Making your own spring wreath isn’t just budget-friendly—it’s incredibly satisfying. You get to customize every detail, from the exact shade of pink to the fullness of the greenery. Plus, you’ll have a unique piece that perfectly matches your style and front door.
Ready to create your own? Grab your supplies this weekend and give it a try. Your gorgeous, “definitely-didn’t-make-that-myself” wreath will be welcoming guests (and impressing neighbors) in no time!