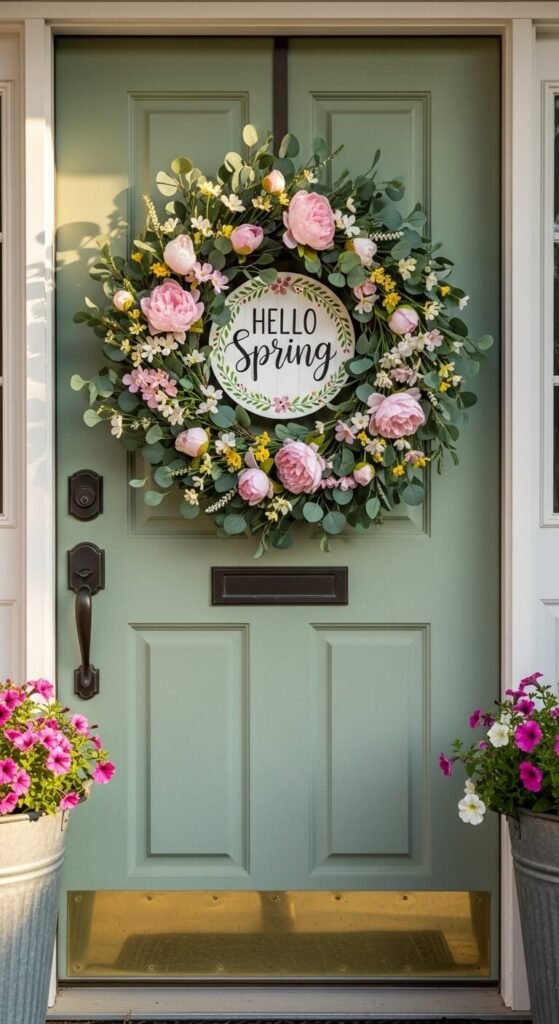
Spring is finally here — and your front door deserves to celebrate. Whether you’re a seasoned crafter or picking up a hot glue gun for the first time, a DIY spring door hanger is one of the easiest ways to give your home instant curb appeal without spending a fortune. The best part? With the right materials and a little know-how, yours will stay fresh and beautiful from the first warm breeze all the way through early summer.
What You’ll Need Before You Start
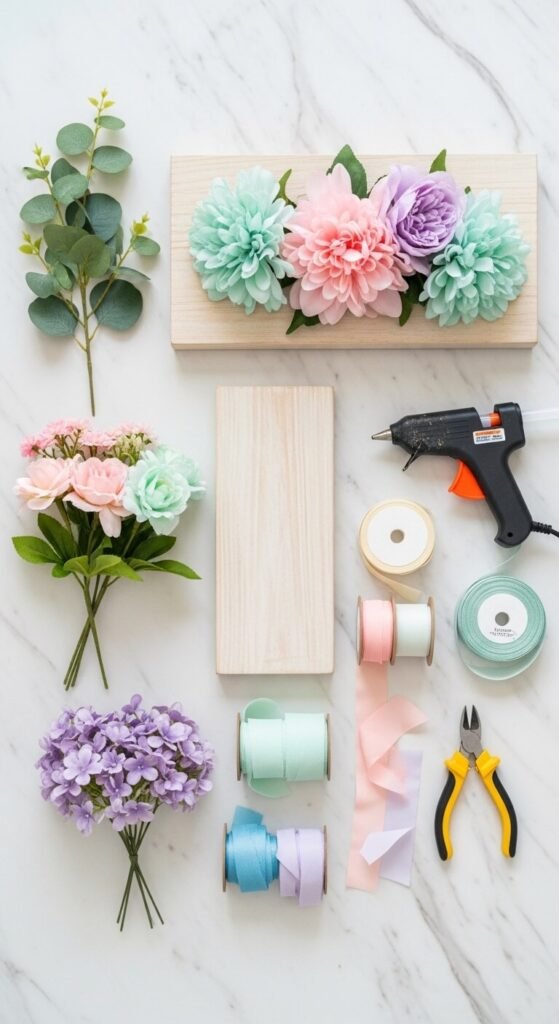
Before diving in, gather everything so you’re not scrambling mid-project. Here’s a solid supply list that works for most spring door hanger styles:
- A wooden or metal base — a pre-cut wood plank, a wire hoop, or a grapevine wreath form
- Faux florals — peonies, tulips, ranunculus, or eucalyptus (faux = longer lifespan!)
- Hot glue gun and extra glue sticks
- Ribbon or jute twine for hanging
- Acrylic paint and brushes if you’re adding a painted element
- Wire cutters to trim floral stems
- Sealant spray (the secret weapon — more on this later)
Pro tip: Shop faux florals at craft stores during post-Valentine’s sales — they’re deeply discounted and perfect for spring arrangements.
Step 1 — Choose Your Base and Layout
The base sets the tone for your whole design. A rustic wood plank gives a farmhouse feel, while a simple wire hoop reads more modern and airy.
Once you have your base, don’t glue anything yet. Lay your flowers, greenery, and any embellishments out on a flat surface first. Play with placement until you love it. This dry-run step saves a lot of frustrated peeling later.
Step 2 — Build Your Base Layer First
Think of your door hanger like a floral arrangement — you want to work in layers.
- Start with your greenery and filler stems first. These create the foundation and hide any gaps.
- Add your largest blooms next, spacing them evenly so no single spot feels too heavy.
- Fill in remaining gaps with smaller accent flowers or buds.
- Finally, tuck in any texture elements — feathers, ribbon loops, dried citrus slices, or mini butterflies.
Keep stepping back and viewing it from a distance. You’ll spot imbalances much faster that way.
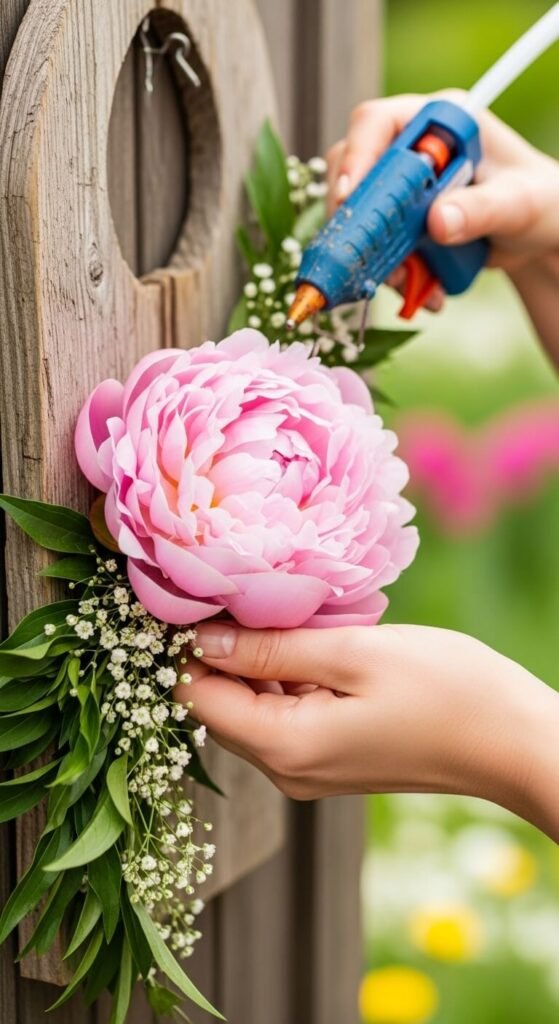
Step 3 — Secure Everything with Hot Glue (The Right Way)
Hot glue is your best friend here — but it can also be your worst enemy if you rush.
- Work in small sections so glue doesn’t dry before you press stems into place
- Hold each piece for 10–15 full seconds before releasing
- For heavier pieces, add a second bead of glue underneath for extra hold
- Keep a bowl of cold water nearby to quickly soothe fingertip burns (we’ve all been there)
Step 4 — The Secret to Making It Last All Season
Here’s where most DIY door hangers fall apart — literally. Sun, humidity, rain, and wind are brutal on decorations. To make yours last:
- Choose UV-resistant faux florals when shopping — they’re labeled clearly and worth the extra dollar or two
- Seal your entire finished piece with a clear outdoor sealant spray (Krylon Make It Last works great). Do two light coats, letting each dry fully
- Add a small clear Command hook inside your door frame so the hanger stays slightly protected from direct rain
- If a piece falls off mid-season, a quick re-glue touch-up takes less than a minute
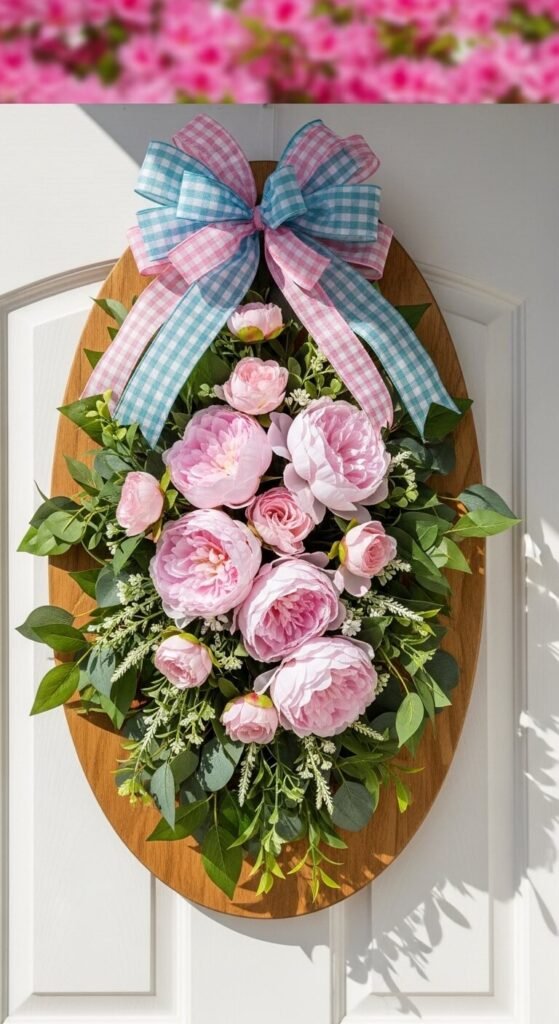
The Finishing Touch — Your Hanger
Cut a length of thick ribbon, twine, or even leather cord — about 12 to 18 inches works for most doors. Loop it through the top of your base, knot it securely, and hang it over your existing door hook or a simple nail.
Step back. Take a photo. Feel ridiculously proud of yourself.
You’ve Got This — Now Go Decorate That Door!
A spring door hanger is one of those projects that looks impressive but is genuinely approachable for any skill level. With faux florals, a good sealant, and a little patience during the glue phase, you’ll have a piece that greets guests beautifully all season long — no wilting, no replacing, no stress.
Save this article for your next crafty afternoon, and share your finished door hanger on Pinterest! Tag it with #SpringDoorHanger so fellow crafters can find your gorgeous creation.