Spring is finally here, and nothing says “fresh start” like cheerful, colorful decor draped across your mantel or doorway. But who says you need to spend a fortune to bring those springtime vibes into your home? With a quick trip to your local dollar store and a little creativity, you can craft a gorgeous spring garland that looks like it came straight from a boutique shop—without the boutique price tag.

Ready to transform budget-friendly finds into stunning seasonal decor? Let’s dive into this easy, wallet-friendly DIY project that’ll have your space blooming in no time!
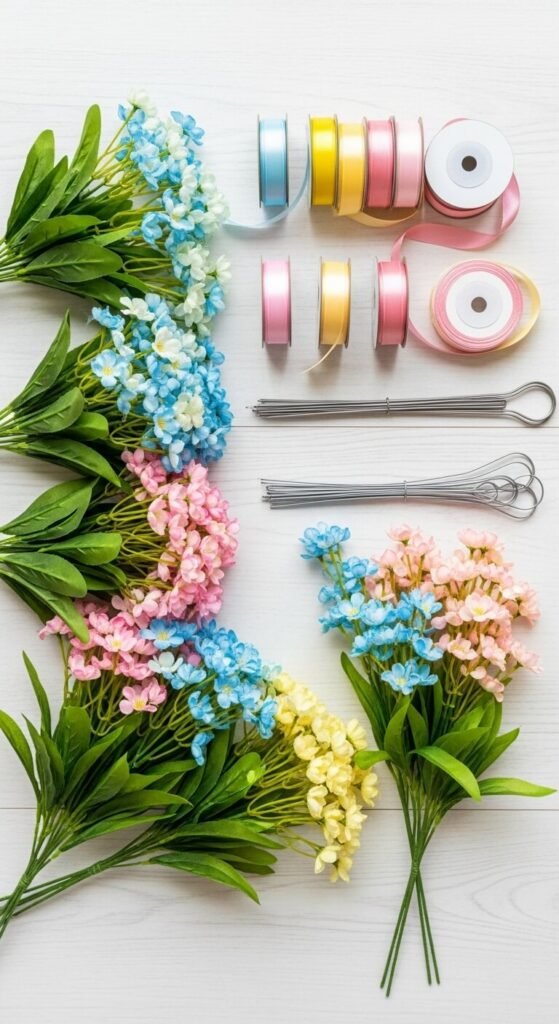
What You’ll Need from the Dollar Store
The beauty of this project is its simplicity. Here’s your shopping list—and yes, everything can be found at your favorite dollar store:
- Artificial spring flowers (think tulips, daisies, or cherry blossoms)
- Greenery stems (eucalyptus, ferns, or ivy work beautifully)
- Ribbon or twine (pastel colors are perfect for spring)
- Floral wire or pipe cleaners
- Optional: Mini butterflies, bees, or bird embellishments
- Scissors or wire cutters
Most dollar stores stock seasonal florals that are surprisingly realistic-looking. Don’t be afraid to mix and match colors and textures—variety makes your garland more visually interesting!
Step 1: Prep Your Flowers and Greenery
Before you start assembling, you’ll need to prepare your materials. Take each flower stem and use your scissors or wire cutters to trim them down. You want individual blooms and smaller clusters rather than long stems—this makes them much easier to attach to your garland base.
Do the same with your greenery, cutting it into 4-6 inch pieces. Set everything aside in organized piles by color or type. Trust me, this prep work makes the actual assembly so much smoother!
Pro tip: If your dollar store flowers look a little stiff or artificial, gently bend and shape the petals and leaves with your fingers to give them a more natural, realistic appearance.
Step 2: Create Your Garland Base
Here’s where your ribbon or twine comes in. Measure out the length you want your garland to be—whether it’s for a mantel, doorway, or stair railing—and add an extra 12-18 inches on each end for hanging.
Cut your ribbon to size. If you want a fuller garland, consider using two or three strands of ribbon twisted together. This creates a sturdier base and gives you more surface area to attach your florals.
Step 3: Attach the Greenery First
Start by securing your greenery pieces along the ribbon using floral wire or pipe cleaners. Space them out evenly, wrapping the wire around both the stem and the ribbon to hold everything in place. The greenery serves as your foundation, so you want good coverage here.
Work in sections, and don’t worry about perfection—the slightly messy, organic look is part of the charm! Alternate different types of greenery if you have them to add depth and texture.

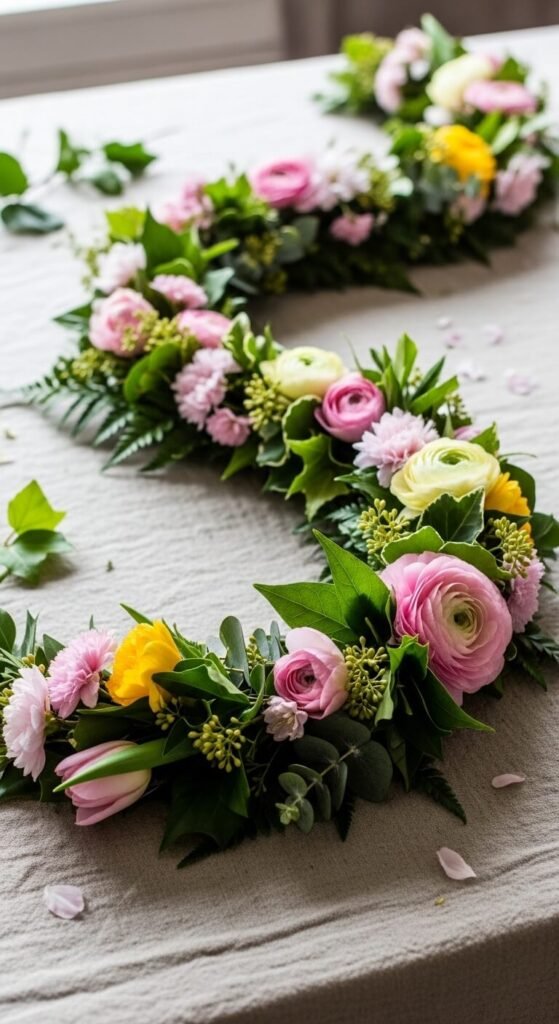
Step 4: Layer in Your Flowers
Now for the fun part! Begin tucking your flower blooms into the greenery, securing them with wire. Here’s where you can let your creativity shine:
- Create clusters of 2-3 flowers in the same color for impact
- Vary the sizes—mix larger blooms with smaller buds
- Play with color patterns—try an ombre effect or evenly distribute colors
- Fill gaps as you go, stepping back occasionally to check your work
Don’t attach every single flower perfectly upright. Angle some slightly to the side or let them peek out at different levels for a more natural, garden-picked look.
Step 5: Add Those Finishing Touches
Once your flowers and greenery are in place, take a step back and look for any bare spots. Fill them in with extra leaves or smaller blooms. This is also when you can add those adorable embellishments—tiny butterflies perched on flowers or miniature bees nestled in the greenery add such a whimsical touch!
For extra dimension, consider tying small bows with leftover ribbon and attaching them sporadically along the garland.
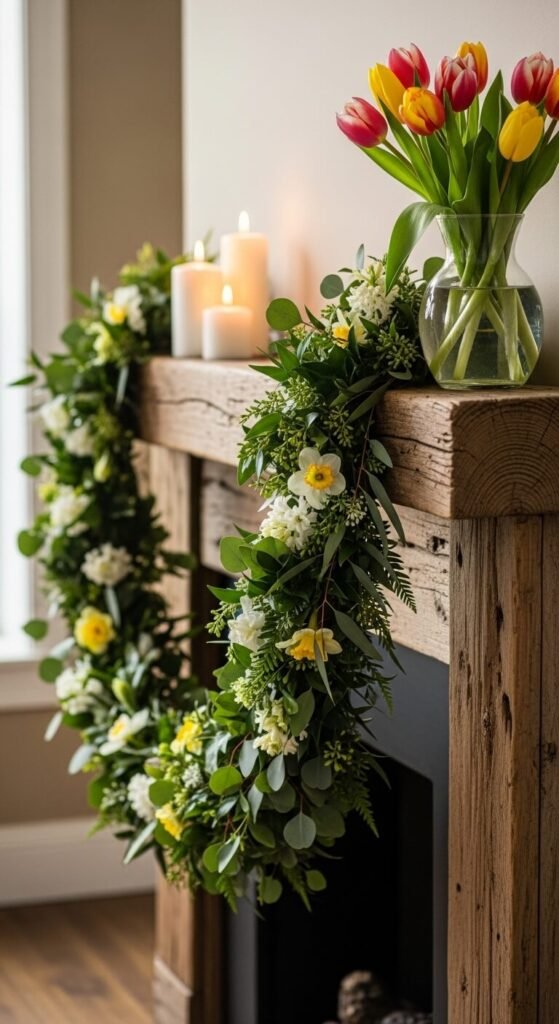
Hanging and Styling Your Garland
Your masterpiece is complete! Use the extra ribbon at each end to tie your garland in place. Command hooks work wonderfully if you’re hanging it on a mantel or wall without damaging surfaces.
Styling tips:
- Drape it with a gentle swoop rather than pulling it completely taut
- Pair it with other spring decor like pastel candles or decorative eggs
- Adjust any flowers that shifted during hanging
- Take a photo for the ‘gram—you earned those likes!
Final Thoughts: Budget-Friendly Beauty
And there you have it—a stunning spring garland for less than $10! The best part? No one will believe you made it from dollar store supplies. This project proves that beautiful seasonal decor doesn’t require a designer budget, just a little time and creativity.