Spring is in the air, and you know what that means—it’s time to refresh your home décor without breaking the bank! If you’ve been scrolling through Pinterest dreaming of those gorgeous floral garlands but cringing at the price tags, I’ve got fantastic news for you. You can create a stunning spring garland using nothing but dollar store supplies, and it’ll look like you spent a fortune at a fancy craft boutique.
Trust me, your friends will be asking where you bought it, and you’ll get to smugly say, “Oh, I made it myself for under $10!”

What You’ll Need
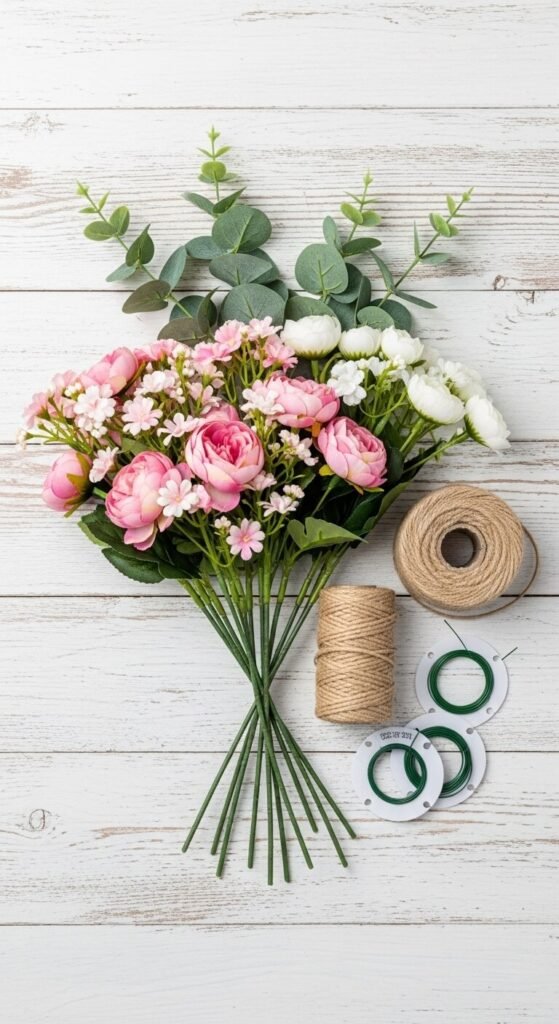
Before we dive in, let’s raid the dollar store! Here’s your shopping list (and yes, everything should cost just $1 each):
- Artificial flower stems – Grab 4-6 bunches in spring colors (think pastels, whites, soft yellows)
- Greenery picks – Eucalyptus, ferns, or ivy work beautifully (get 3-4 bunches)
- Twine or ribbon – Choose jute twine for rustic vibes or satin ribbon for something more elegant
- Floral wire or twist ties – Essential for securing everything together
- Optional: Small decorative butterflies, ribbons, or mini bird nests for extra charm
Total cost? Around $8-12. Compare that to store-bought garlands that easily run $40-60!
Step-by-Step Instructions
Step 1: Prep Your Flowers
Start by separating your flower bunches into individual stems. Don’t toss those wire stems—they’re actually super helpful for attaching flowers to your garland base! If some flowers have extra-long stems, use scissors or wire cutters to trim them down to about 4-6 inches.
Pro tip: Mix different flower sizes and types for a more organic, garden-picked look. Nobody wants a garland that looks too “matchy-matchy.”
Step 2: Create Your Base
Here’s where it gets easy. Cut a piece of twine or ribbon to your desired length—I recommend adding an extra 12 inches on each end for hanging. This is your garland foundation.
Lay it out on your workspace (kitchen table, living room floor, wherever you have space). This lets you visualize the final product as you build.
Step 3: Start Attaching Greenery
Begin with your greenery as the base layer. Space eucalyptus or fern stems along your twine, alternating the direction they point (some left, some right) to create fullness. Secure each piece with floral wire, wrapping it tightly around both the stem and the twine.
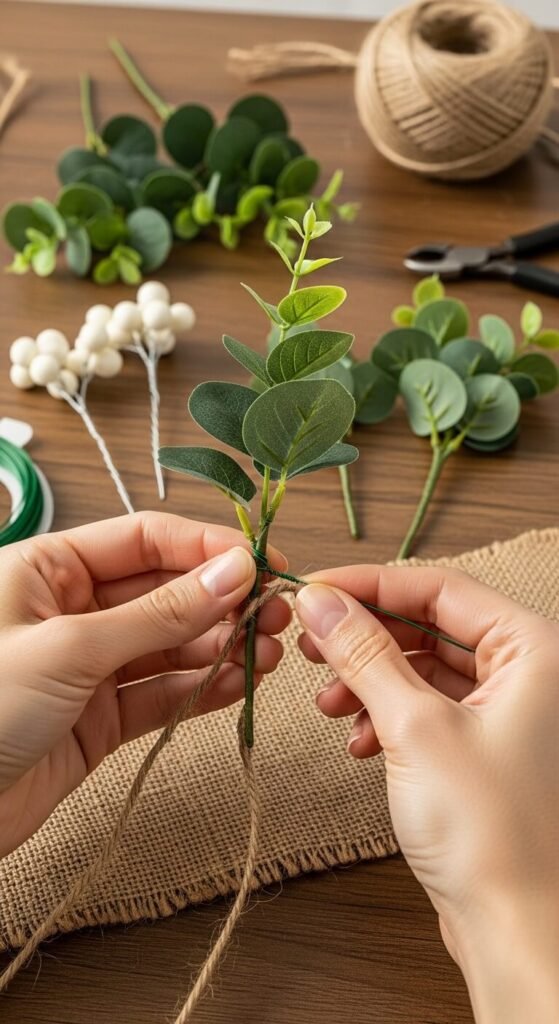
Don’t worry if it looks sparse at this stage—we’re building layers!
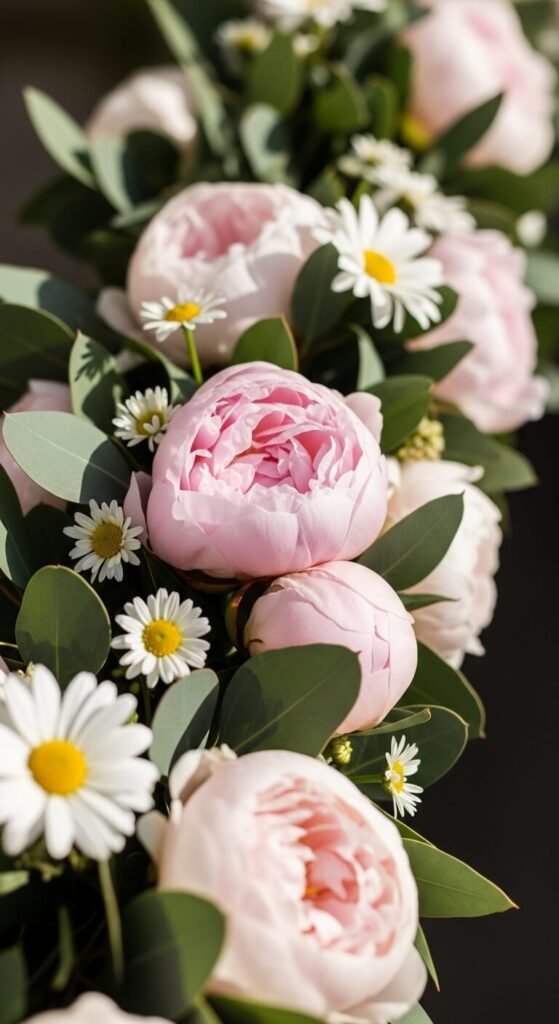
Step 4: Layer in the Flowers
Now for the fun part! Tuck your flower stems into the greenery, varying the placement so you get pops of color throughout. Use the wire to secure each stem, making sure to hide the wire within the leaves and petals.
Here’s the secret: cluster your flowers in groups of 2-3 rather than spacing them evenly. This creates visual interest and mimics how flowers naturally grow.
Step 5: Fill the Gaps
Step back and look at your garland. See any bare spots? Fill them in with smaller flowers, additional greenery, or those cute butterfly picks. This is where your creation really comes to life!
Styling Tips & Creative Variations
Once your garland is complete, here are some gorgeous ways to display it:
- Mantel magic: Drape it across your fireplace mantel, letting it cascade naturally at the ends
- Doorway drama: Secure it above a doorframe for a charming entryway welcome
- Table runner: Lay it down the center of your dining table for a spring brunch setup
- Staircase statement: Wind it around your staircase railing with some sheer ribbon
Want to switch up the style? Try these variations:
- Boho vibes: Add dried pampas grass and macramé accents
- Farmhouse fresh: Stick with whites, creams, and lots of greenery
- Bold & bright: Go for vibrant yellows, corals, and oranges instead of pastels
- Mini version: Create 2-3 foot sections to hang on cabinet doors or windows
Your Budget-Friendly Spring Refresh Awaits!
There you have it—a gorgeous spring garland that’ll have everyone fooled into thinking you’re a professional crafter with a unlimited budget. The best part? You can customize it to match your exact style and color scheme, something you’d never get with a store-bought version.
This project typically takes 30-45 minutes from start to finish, making it perfect for a weekend afternoon or even a fun crafting session with friends. Plus, these garlands are reusable year after year if you store them carefully!
Ready to transform your space for spring? Grab your dollar store haul and get creating. And don’t forget to save this tutorial for next year—or share it with a friend who needs some budget-friendly décor inspiration!