Spring is the perfect excuse to refresh your home — and you don’t need a needle and thread to do it. Imagine swapping out your heavy winter throw pillows for light, breezy covers in floral prints and pastel hues, all in under 30 minutes. Yes, really. Whether you’re a total craft beginner or just short on time, these no-sew pillow cover methods are about to become your new favorite DIY trick.

What You’ll Need
Before you dive in, gather your supplies. The beauty of no-sew projects is that the materials list is short and budget-friendly.
- Fabric of your choice — think floral cotton, linen, or lightweight canvas in spring colors
- Fabric glue or hem tape (iron-on fusible tape works beautifully)
- Sharp fabric scissors
- A ruler and fabric chalk or washable marker
- An iron (for hem tape method)
- Your existing pillow insert
Pro tip: Fat quarters from a craft store are perfectly sized for standard 18×18 pillow inserts and cost just a dollar or two each.
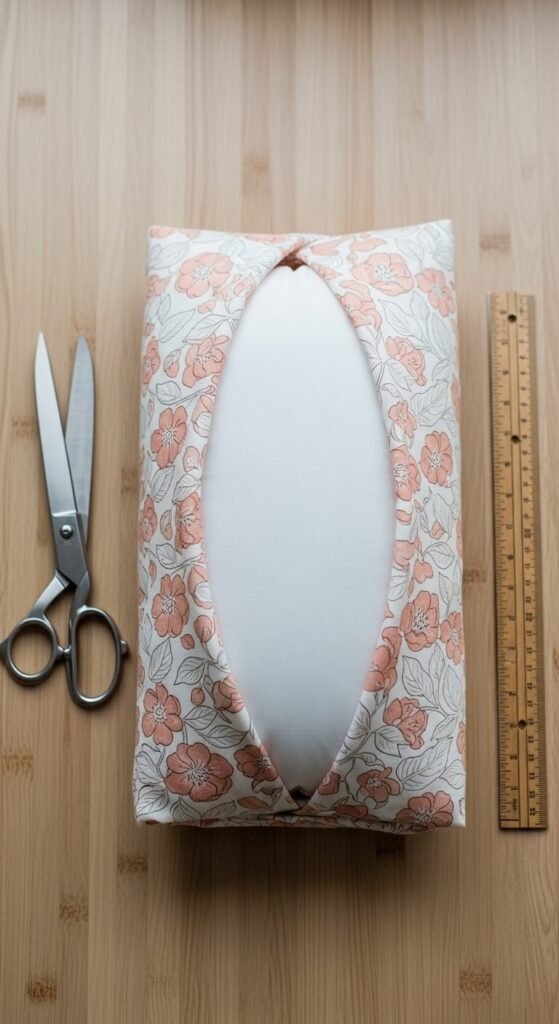
Method 1: The Envelope Fold (No Glue Needed!)
This is hands-down the easiest method — zero adhesive required.
- Cut your fabric to roughly 18×27 inches for an 18-inch pillow insert.
- Fold the fabric around the pillow like you’re wrapping a gift, overlapping the ends in the back like an envelope.
- Tuck and adjust until the front looks smooth and neat.
- Secure the overlap with a few strategically placed safety pins on the back — completely invisible from the front.
That’s it. Seriously. You can change the cover out whenever the mood strikes, making it perfect for seasonal updates.
Method 2: Fabric Glue for a More Polished Finish
Want something that holds up a little better — especially if you have kids or pets? Fabric glue is your best friend.
- Cut two squares of fabric slightly larger than your pillow (about 20×20 inches for an 18-inch insert).
- Place the pieces with the pretty sides facing each other.
- Apply fabric glue along three edges, leaving one side open. Press firmly and let it dry flat.
- Turn it right-side out, slide in your pillow insert, and fold and glue the open end shut.
Allow a full dry time (usually 24 hours) before putting pressure on the seams.
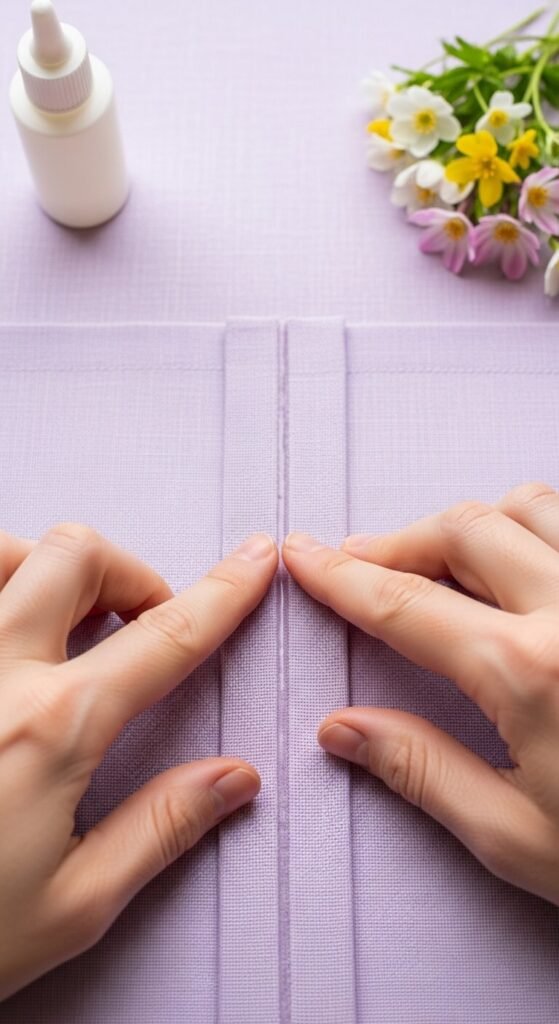
Method 3: Iron-On Hem Tape Magic
Hem tape (also called fusible webbing) creates a bond that genuinely looks sewn. It’s ideal for fabrics that fray or for a cleaner, more finished edge.
- Cut your fabric pieces to size, just as in Method 2.
- Fold over the edges about half an inch and press with an iron to crease.
- Tuck hem tape inside each folded edge and press with a hot iron according to package instructions.
- Bond three sides together, insert the pillow, then close the final edge with hem tape.
The result? A crisp, store-bought look without touching a sewing machine.
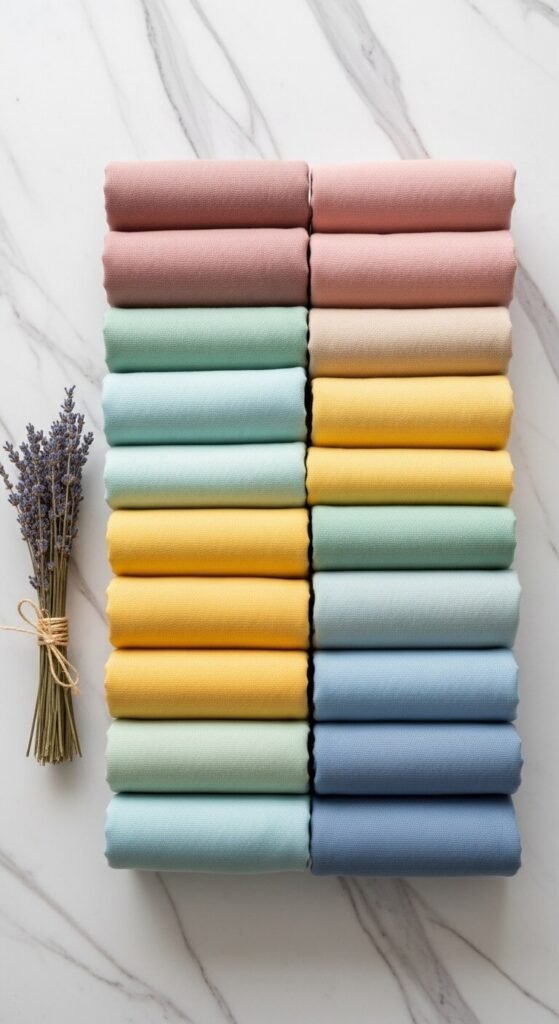
Choosing the Best Spring Fabrics
Not all fabrics are created equal for no-sew projects. Here’s what works best:
- Cotton and cotton blends — easy to cut cleanly and hold glue well
- Linen — beautiful texture, minimal fraying
- Lightweight canvas — durable and structured
- Avoid: Silky or stretchy fabrics — they shift and are harder to control without sewing
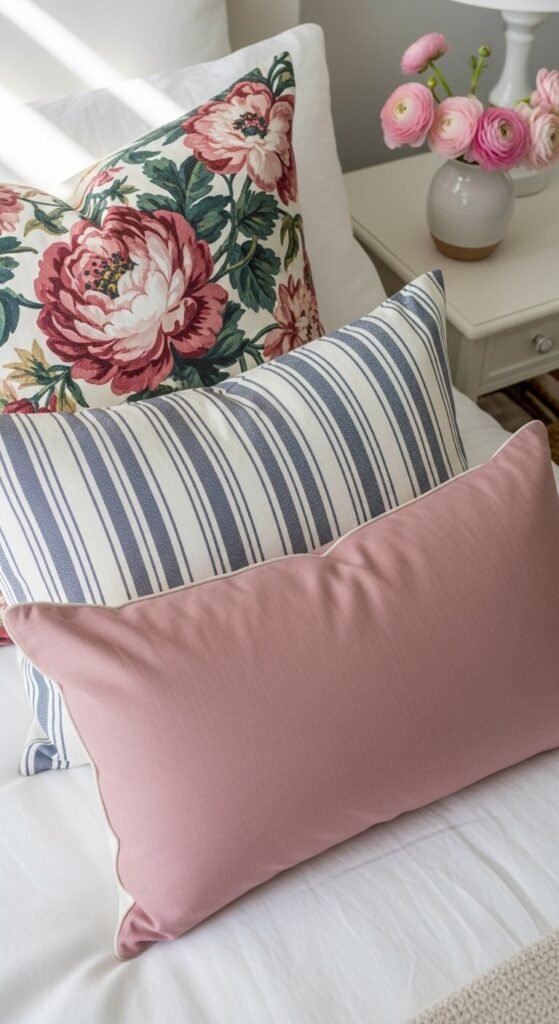
Style Tips for a Spring-Ready Look
Once your covers are made, have fun styling them!
- Mix patterns and solids — pair a floral with a solid sage or blush
- Layer different sizes — combine a 20-inch, 18-inch, and a lumbar pillow
- Add texture — a woven or waffle-knit cover adds depth alongside printed ones
- Keep it light — swap out dark or moody colors for whites, creams, and soft pastels
Freshen Up Your Space This Season
No-sew pillow covers are one of the fastest, most affordable ways to give your home a spring refresh. With just a yard of fabric and one of these three methods, you can completely transform a room in an afternoon — no special skills required.