There’s something almost magical about stepping into your kitchen and snipping a few fresh sprigs of basil or thyme right from your windowsill. No grocery run, no wilted herbs from a plastic clamshell — just the real thing, right at your fingertips. An indoor spring herb garden isn’t just practical. Done right, it becomes one of the prettiest little displays in your entire home.
Whether you have a sun-drenched bay window or just a decent south-facing sill, this guide walks you through everything you need to get your indoor herb display growing — and looking gorgeous.
Choose the Right Herbs for Indoors
Not every herb thrives inside, so starting with the right picks sets you up for success. The best indoor spring herbs are those that don’t mind the lower light levels typical of most homes.
Best beginner-friendly choices:
- Basil — loves warmth and a bright window; grows fast and smells incredible
- Mint — nearly impossible to kill; keep it in its own pot since it spreads aggressively
- Chives — compact, low-maintenance, and grow back quickly after snipping
- Parsley — thrives in moderate light and stays tidy on a shelf or sill
- Thyme — drought-tolerant and beautifully textured with tiny leaves
Avoid heavy sun-lovers like rosemary or lavender unless you have a genuinely sunny spot. They’ll struggle under low indoor light and slowly decline.
Pick Your Containers and Display Style
Here’s where the fun begins. The container you choose shapes the whole look of your display, so think beyond the boring plastic nursery pot.

Popular container ideas:
- Terracotta pots — classic, breathable, and age beautifully
- White ceramic planters — clean and modern, perfect for minimalist kitchens
- Mason jars — affordable and charming; add a layer of pebbles at the bottom for drainage
- A wooden tray or crate — group several small pots together for a cohesive “collection” look
- Hanging macramé planters — great for windows with no sill space
Whatever you choose, drainage is non-negotiable. Herbs sitting in waterlogged soil will rot quickly. If your cute pot doesn’t have a drainage hole, use it as a cachepot with a proper plastic insert inside.
Set Up the Perfect Growing Spot
Light is everything for indoor herbs. Most herbs need at least 6 hours of bright, indirect light each day. Here’s how to give them their best shot:
- South or west-facing windows are your best bet for spring and summer
- Rotate pots a quarter turn every few days so all sides get even light exposure
- Supplement with a grow light if your home is on the darker side — even a basic LED strip on a timer works well
- Keep herbs away from heating vents and drafts, which dry them out and stress the plants

Temperature-wise, most herbs are happiest between 60–75°F. Spring is ideal because the light is increasing and temperatures are stable — perfect conditions for establishment.
Water, Feed, and Maintain
Indoor herbs are fairly low-demand, but a little routine goes a long way.
Watering: Stick your finger about an inch into the soil. If it feels dry, water thoroughly until it drains from the bottom. If it still feels moist, wait another day. Most herbs prefer to dry out slightly between waterings rather than stay constantly wet.
Feeding: Once a month during the growing season, give your herbs a diluted liquid fertilizer. Don’t overdo it — too much fertilizer pushes leafy growth that’s less flavorful.
Harvesting: This is the most important maintenance tip — harvest regularly. Snipping stems encourages bushier, fuller growth. For basil especially, pinch off any flower buds the moment you see them to keep the plant producing leaves.
Style It Like a Display, Not Just a Garden
A thoughtful arrangement makes your herb garden feel intentional and beautiful — not just a random cluster of pots.
A few easy styling tricks:
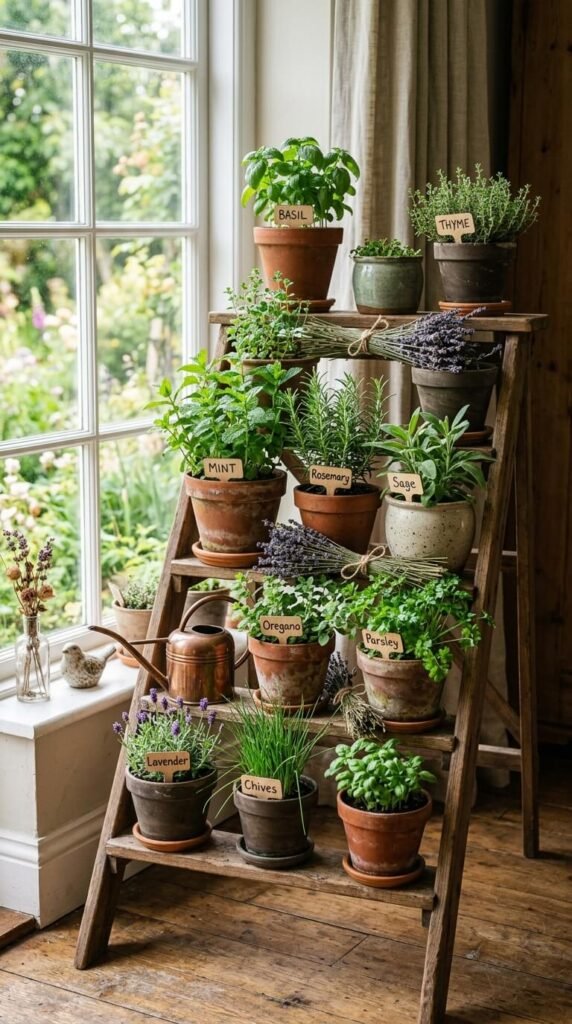
- Vary the heights using a small plant stand, stacked books, or a tiered shelf
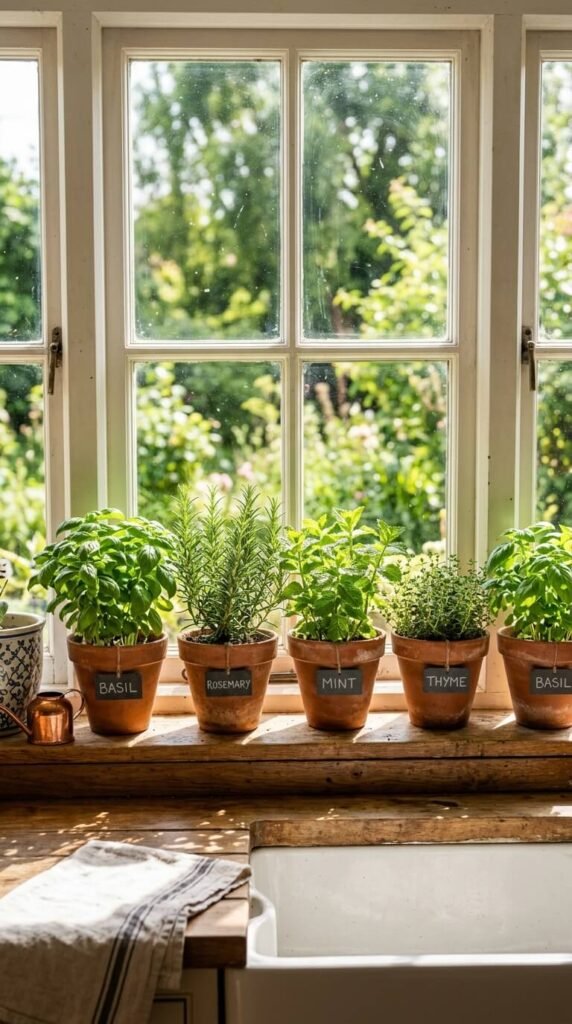
- Add a handwritten label on each pot with a small chalkboard tag or a strip of masking tape — it’s practical and charming
- Mix textures and materials — a terracotta pot next to a ceramic one next to a jar looks layered and collected, not matchy-matchy
- Tuck in a small decorative element — a smooth river stone, a bundle of twine, or a tiny vintage spoon adds personality without fuss
Bring Your Display to Life This Spring
An indoor herb garden is one of those rare home projects that pays off every single day — in fresh flavors, in the satisfaction of growing something yourself, and in the genuine beauty it adds to your kitchen or dining space.
Start small with three or four herbs, find your best window, and let the display grow with you. Once you harvest your first handful of fresh basil for pasta or snip chives over scrambled eggs, you’ll wonder why you didn’t start sooner.
Save this guide and pin it for later — your spring herb display is waiting!