There’s something magical about a windowsill that actually lives and breathes. Not just a row of decorative pots collecting dust — but a little growing world that changes week by week, fills your kitchen with fragrance, and makes every morning feel like the first day of spring.
The best part? You don’t need a garden, a green thumb, or even a lot of space. Just a windowsill, a little intention, and the right plants to get started.
Choose the Right Window First
Before you buy a single seed or pot, take a good look at your window. Spring light is gentler than summer sun, so most windowsills will work — but the direction matters.
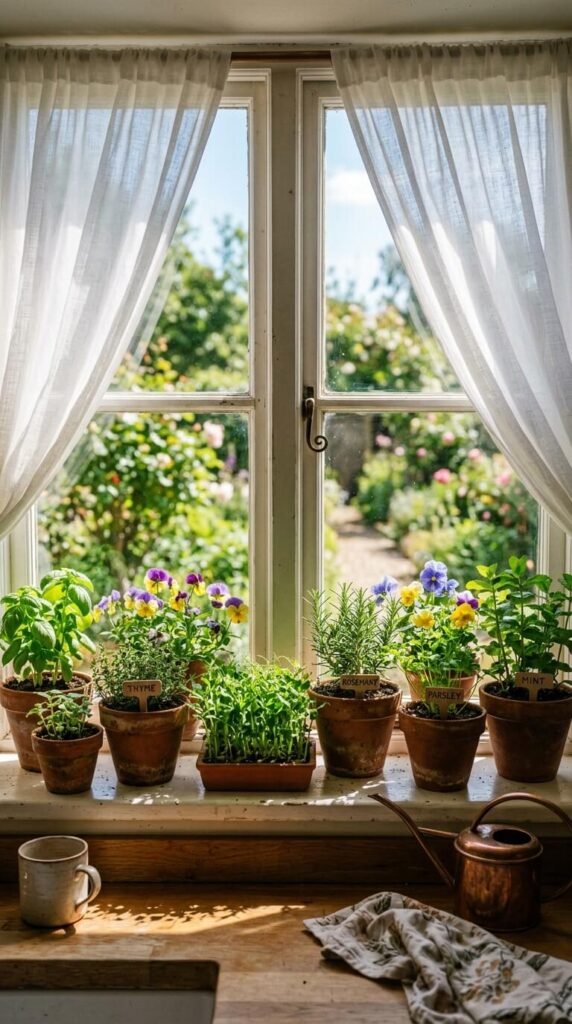
- South-facing windows get the most light and are ideal for herbs like basil, thyme, and chives.
- East-facing windows offer soft morning light — perfect for violas, lettuce, and delicate seedlings.
- West-facing windows catch warm afternoon sun, great for succulents or small flowering plants.
- North-facing windows are lower light — try ferns, moss, or trailing ivy for a lush green look.
Don’t have a sunny spot? A small grow light tucked neatly behind your display works beautifully and keeps everything thriving.
Pick Plants That Actually Grow (Not Just Look Pretty)
This is where the magic happens. The goal is a display that evolves — things that sprout, bloom, trail, and change throughout the season.
Here are some can’t-fail picks:
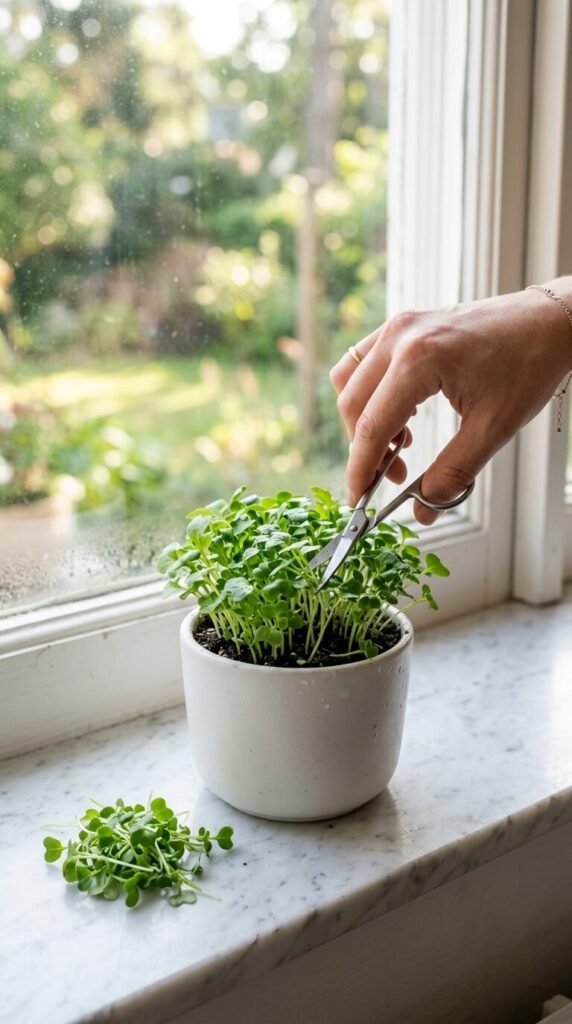
- Microgreens — fast-growing, incredibly satisfying, and ready to snip in about 10 days
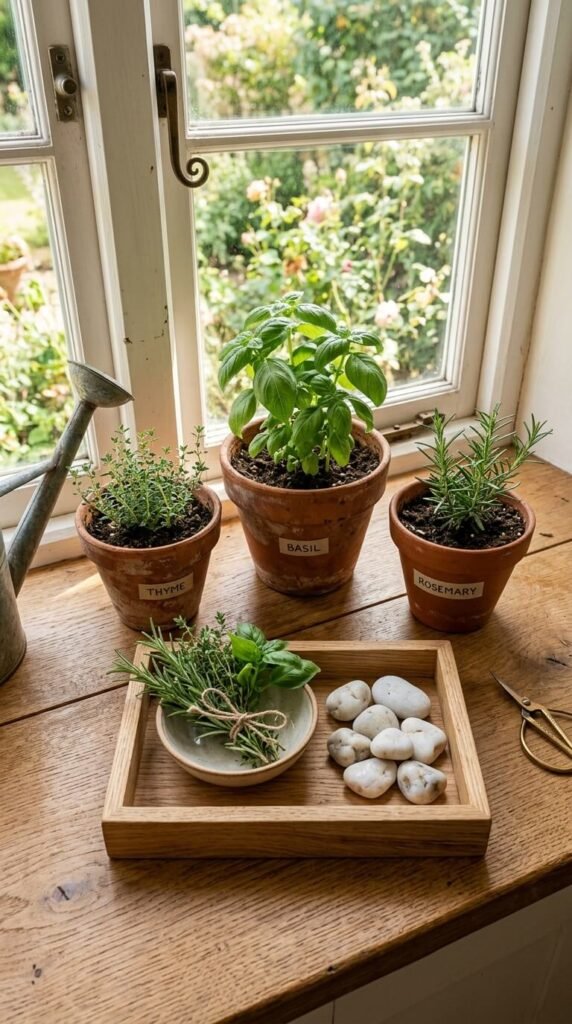
- Herbs (basil, mint, chives, parsley) — fragrant, useful, and endlessly rewarding
- Violas or pansies — edible flowers that bloom freely and add a pop of soft color
- Trailing nasturtiums — plant a seed in a small pot and watch it spill over the edge beautifully
- Wheatgrass — lush, vivid green, and grows so fast you can almost watch it happen
Mix textures and heights to make the display feel layered — tall herbs at the back, trailing plants at the front, and compact bloomers tucked in the middle.
Style Your Containers Like a Pro
The containers you choose tie the whole display together. Keep the look cohesive without being too matchy-matchy.
A few combinations that always work:
- Terracotta pots in varying sizes + a wooden tray underneath
- White ceramic pots + a linen runner
- Vintage tin cans + small clay saucers for a rustic touch
- Clear glass jars for propagating herbs (roots visible = extra charm)
Add small details that make it feel intentional — a smooth river stone, a sprig of dried lavender tucked between pots, or a small vintage label pressed into the soil.
Plant, Water, and Watch It Grow
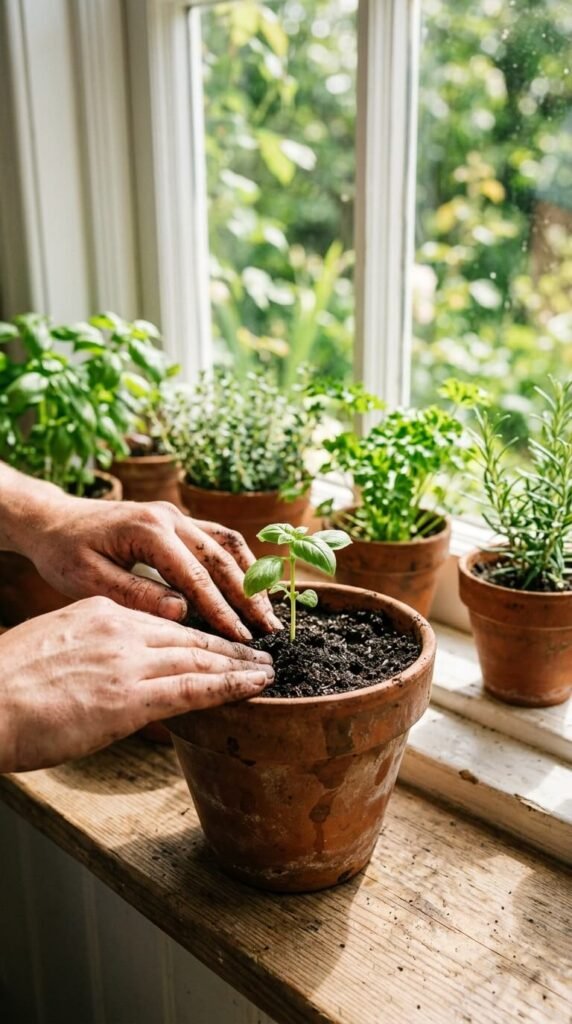
Once your window is ready and your containers are styled, it’s time to get your hands in the soil.
A few simple rules to keep everything thriving:
- Use a good-quality potting mix — avoid heavy garden soil, which compacts in small pots
- Water little and often rather than drowning plants all at once; most windowsill plants like slightly moist, never soggy soil
- Pinch back herbs regularly to encourage bushy growth instead of tall, leggy stems
- Rotate pots every few days so all sides get even light exposure
- Feed with a diluted liquid fertilizer every two weeks once plants are established
Seedlings will push through, stems will thicken, and before long your windowsill will look like it’s been growing there for months.
Let It Evolve Through the Season
The real joy of a growing windowsill display is that it never stays the same. Snip the microgreens, and sow a new tray. When the violas finish blooming, swap in a pot of chamomile. Let the nasturtiums trail longer as spring deepens into early summer.
Think of it less like a decoration and more like a tiny, ever-changing garden you tend a little bit every day.
Ready to start your own growing windowsill? Pick just two or three plants this week, find a pot you love, and place them where the morning light hits. That’s all it takes to begin — and once you do, you’ll wonder why every windowsill in your home isn’t growing something beautiful.