Spring is here — and your windows deserve a refresh just as much as your wardrobe does. The right window treatment can transform a stuffy room into an airy, light-filled sanctuary in an afternoon. Whether you’re renting, redecorating on a budget, or just craving that breezy, sunlit vibe, this guide walks you through everything you need to create window treatments that actually feel like spring.
Choose the Right Fabric First
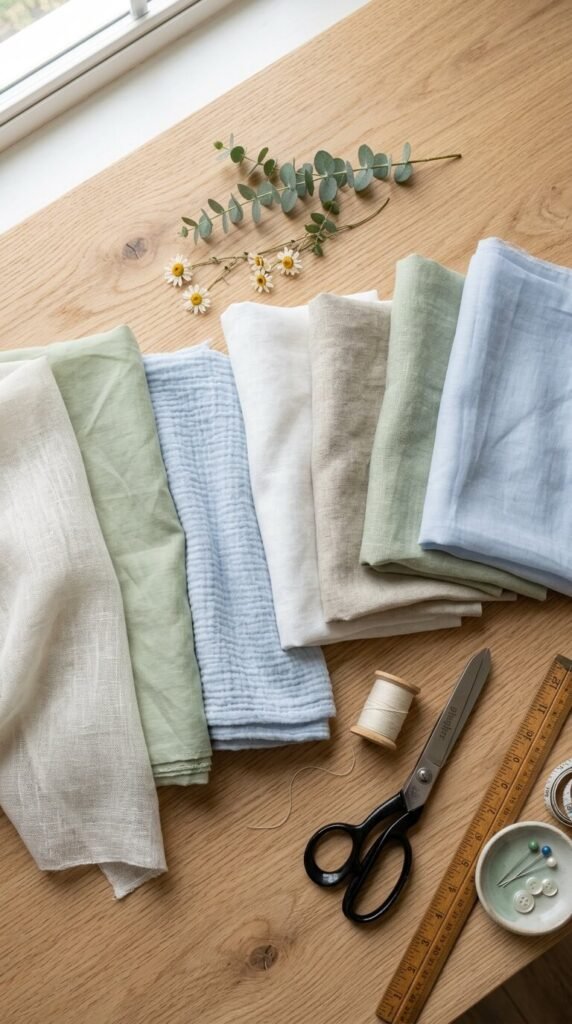
Fabric is everything when it comes to a spring-ready look. Heavy velvet and blackout liners are great for winter coziness, but come April, you want materials that breathe and glow.
Best fabrics for spring window treatments:
- Sheer linen or cotton voile — lets in natural light while softening harsh sun
- Muslin — inexpensive, easy to dye, and beautifully casual
- Light cotton canvas — sturdy enough for tab-top or rod-pocket curtains
- Breezy gauze — creates that dreamy, romantic flutter effect
Look for fabrics in soft whites, warm creams, sage greens, or muted dusty blues — colors that echo the season without overwhelming the space.
Pick Your Style: Panels, Valances, or Roman Shades
Not all windows are created equal, and neither are the treatments that flatter them. Here’s a quick breakdown:
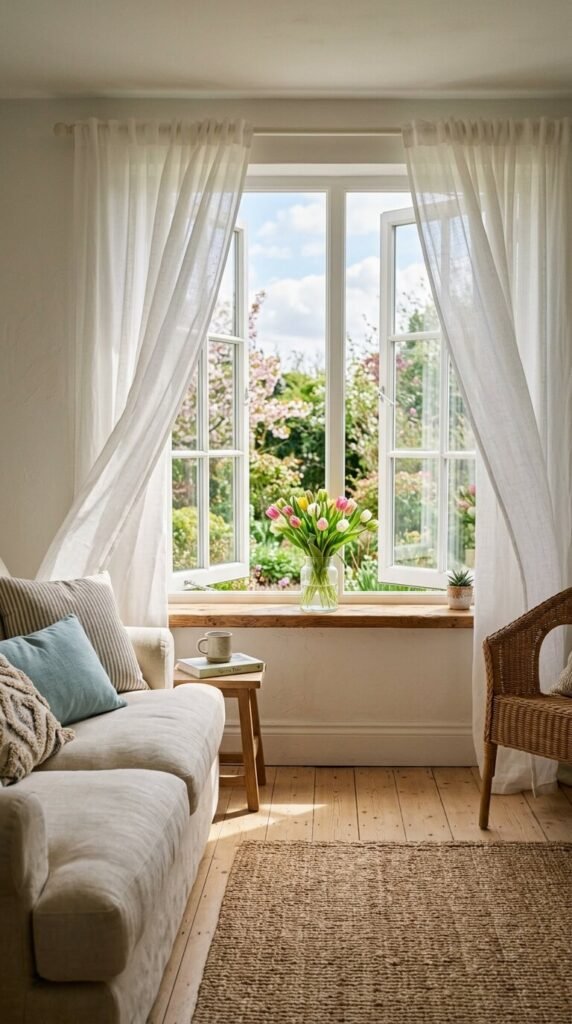
Floor-to-ceiling panels are the go-to for a dramatic, airy look. Hang the rod as high as possible — even close to the ceiling — to make the room feel taller and more open.
Café curtains cover only the lower half of the window. They’re perfect for kitchens and bathrooms where you want privacy and natural light pouring in from the top.
Roman shades in light fabric fold up neatly and look incredibly clean and intentional. DIY versions are easier than they look — fabric, rings, a dowel, and some cord are really all you need.
Tie-top or tab-top panels have that relaxed, cottage-y feel that’s totally on-trend for spring. A simple straight panel with fabric loops at the top takes about an hour to sew — or hem tape if you’re skipping the machine entirely.
The No-Sew Method (Yes, It Works)
Not a sewer? No problem. Fusible hem tape is your best friend. Here’s how to make a basic no-sew panel:
- Cut your fabric to the desired length — measure from the rod to the floor (or wherever you want them to fall), then add 6 inches for hems.
- Fold and press the top hem down about 3 inches to create a rod pocket, using an iron to crease it flat.
- Apply hem tape inside the fold and press again with a damp cloth — the heat activates the adhesive.
- Repeat at the bottom with a 2-inch hem for a clean, weighted finish.
- Slide onto your rod and hang.
That’s it. Seriously — you can have brand-new curtains up in under two hours.

Layer for Depth and Function
One panel alone can look flat. The secret to those magazine-worthy windows? Layering.
A simple, effective spring layering formula:
- Base layer: Light roller shade or solar shade for light control
- Top layer: Sheer linen panels hung wide to frame the window
This gives you flexibility — pull the sheers open during the day for full sun, and roll down the shade for afternoon glare without blocking all the light.
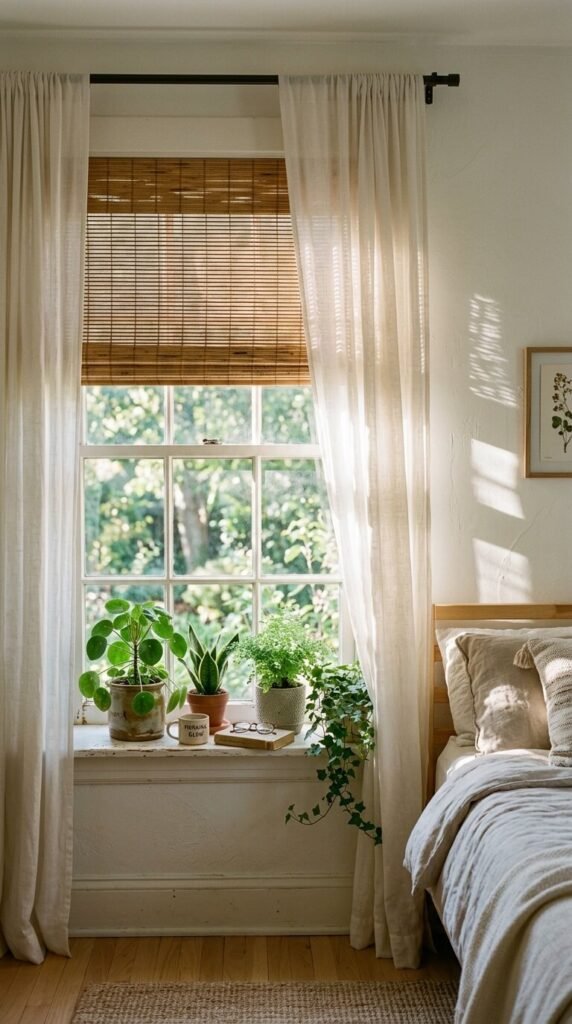
You can also mix textures: try pairing a woven wood blind with a flowing linen panel for that warm, organic look that’s everywhere right now.
Finishing Touches That Make a Big Difference
The details take a good window treatment to a great one. A few easy upgrades:
- Tie-backs made from jute twine, leather cord, or even a knotted strip of matching fabric add a handmade, intentional look
- Wooden or brass rings instantly elevate even inexpensive curtains — swap out cheap plastic rings and watch your whole vibe change
- Ceiling-mounted rods instead of wall-mounted ones give that high-end custom feel with zero extra cost
- Clip-top hanging (no sewing at all) works great with lightweight fabrics — just clip fabric panels directly onto rings
Bring It All Together
Spring window treatments don’t have to be complicated or expensive. A few yards of light fabric, the right hardware, and a little weekend time is genuinely all it takes to shift the whole energy of a room.
Focus on letting light in, using soft natural tones, and choosing textures that feel relaxed. Your space will thank you for it.
Save this for your next home refresh, and pin it for when the next season rolls around — your future self will be glad you did!