There’s something deeply satisfying about walking up to a front door dressed in a wreath you made with your own hands. No kit, no hot-glue frustration halfway through a pre-formed foam base — just wild grapevines, fresh spring blooms, and a little patience. The best part? Grapevine wreaths are forgiving, endlessly customizable, and look like they cost three times what they actually do.
If you’ve never worked with grapevines before, don’t worry. This tutorial walks you through every step — from gathering and prepping your vines to wiring on the last sprig of lavender. Let’s get into it.
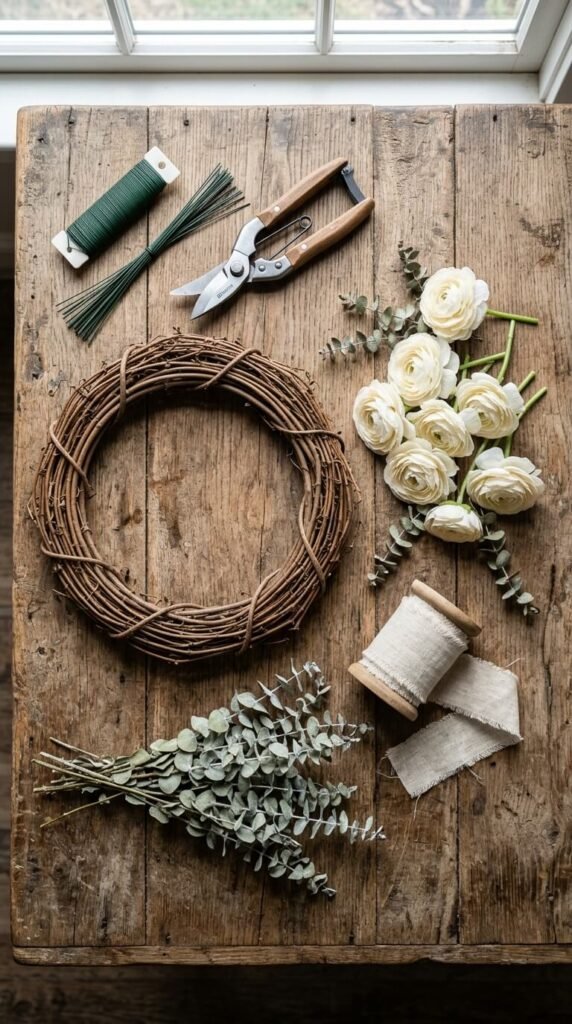
What You’ll Need Before You Start
Gather your supplies first so you’re not running back and forth mid-project. Here’s the full list:
- Fresh or dried grapevines (at least 8–10 long vines, ideally 4–6 feet each)
- A bucket of warm water (for soaking dried vines)
- Floral wire (22- or 24-gauge works well)
- Wire cutters
- Hot glue gun + extra glue sticks
- Faux or dried spring florals — think ranunculus, tulips, eucalyptus, or wildflowers
- Ribbon or twine for hanging
- Pruning shears or sturdy scissors
- Optional: moss, feathers, butterflies, or wooden letters for extra personality
Fresh vines are easiest to work with because they’re pliable right away. If you’re using dried vines, soak them in warm water for 20–30 minutes until they’re flexible enough to bend without snapping.
Step 1: Form the Base
This is where the magic starts — and honestly, where most people are surprised by how easy it is.
- Take your longest vine and form a circle roughly 12–16 inches in diameter. Overlap the ends and tuck them back into the loop to hold the shape.
- Wrap a second vine around the base circle, weaving it in and out of the first layer. Let the natural curves of the vine guide you — imperfect is the goal.
- Keep layering vines, rotating and weaving each one in the opposite direction for stability. Aim for 3–4 layers minimum for a full, sturdy base.
- Tuck loose ends into the existing weave or secure them with a short piece of floral wire. No need to be precious about it — the florals will cover most of the frame.
Pro tip: Work on a flat surface and step back often. Your eye will catch lopsided spots that your hands can easily miss.
Step 2: Let It Dry and Set
Once your base is shaped, set it aside for at least a few hours — or overnight if possible. As the vines dry, they tighten and lock into shape naturally. This is what gives a grapevine wreath that characteristic woody, rustic texture.
If you’re in a hurry, you can skip this step, but your wreath may shift a little as you add florals. Patience pays off here.
Step 3: Plan Your Floral Arrangement
Before reaching for the glue gun, lay your flowers and greenery on top of the wreath and play with placement. This saves a lot of frustration later.
A few simple design principles that always work:
- Cluster blooms in one area (usually the lower left or lower right) for an organic, gathered look rather than evenly spacing everything.
- Layer sizes — start with larger blooms, then fill gaps with smaller ones and trailing greenery.
- Add depth by tucking some stems slightly under the vines rather than sitting everything flat on top.
- Use odd numbers of focal flowers (3 or 5 ranunculus, for example) — it looks more natural than even groupings.

Step 4: Secure the Florals
Now it’s time to make it permanent. Work in sections:
- Start with greenery. Hot glue eucalyptus, fern, or ivy first to create a base layer. Tuck stems down into the vines for a more natural look.
- Add focal flowers next. Apply a generous dab of hot glue to the stem or base of each bloom and press firmly for 10–15 seconds.
- Fill gaps with smaller accents — dried baby’s breath, small berries, or petite wildflowers work beautifully.
- Use short pieces of floral wire to reinforce anything that needs extra hold, especially heavier stems.
Don’t rush the glue gun. Give each piece a moment to set before moving on. And yes, you will get a few glue strings — just wait for them to dry and roll them off with your fingers.
Step 5: Add a Hanger and Final Touches
Cut a 10–12 inch piece of floral wire and twist it into a loop at the back of your wreath, securing it tightly around two or three vines. This is your hanging loop.
Then step back and take a final look:
- Any bare spots? Tuck in a few extra sprigs or a trailing ribbon.
- Want a seasonal touch? Add a small wooden initial, a mini nest, or a few faux butterflies with a dot of glue.
- A length of wired ribbon tied in a loose bow adds a beautiful finishing touch without looking overdone.

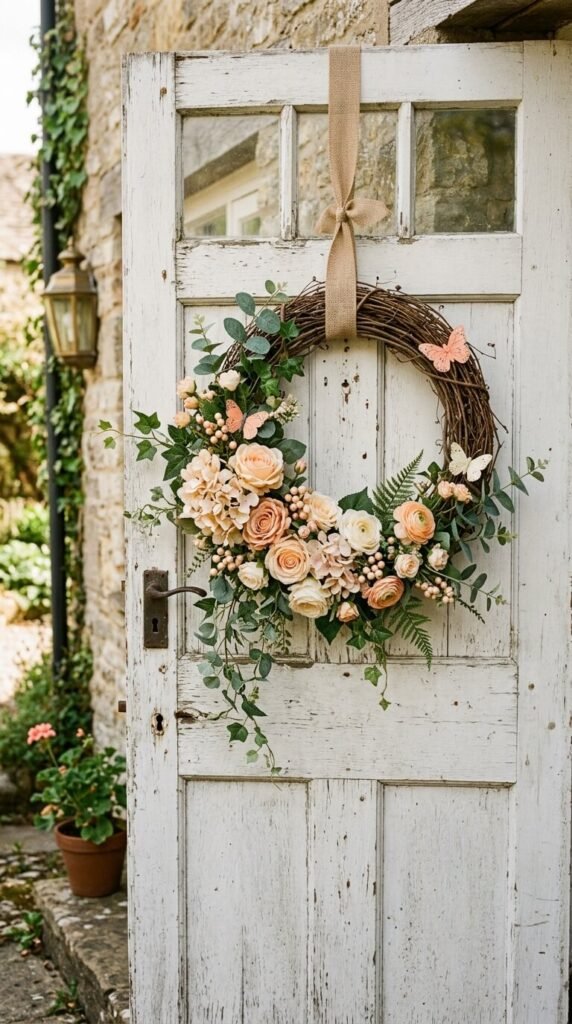
Hang It and Show It Off
Your grapevine spring wreath is ready. Hang it on your front door, above a mantle, or on a fence for an instant seasonal refresh. These wreaths hold up well outdoors, though bringing them in during heavy rain will extend their life.
Want to switch it up? The base is reusable season after season — just remove the old florals and redecorate with fall sunflowers, winter greenery, or summer dried botanicals. One good grapevine base can last for years.
Save this tutorial and come back to it every season — once you make your first one, you’ll wonder why you ever bought a wreath at all.