Nothing says “hello, spring!” quite like a cheerful handmade banner strung across your mantel, front porch, or party table. The best part? You don’t need fancy tools or a craft room full of supplies. A few sheets of colorful paper, some ribbon, and about an hour of your time is all it takes to create something that looks like it came straight out of a home décor shop window.
What You’ll Need
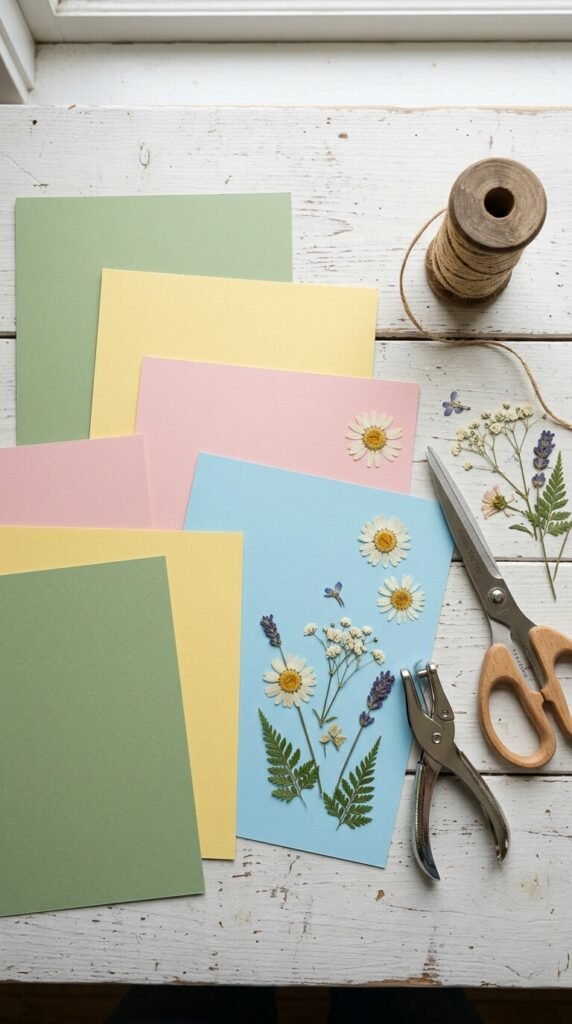
Keep it simple. Here’s your supply list:
- Cardstock or patterned scrapbook paper — heavier paper holds its shape better and won’t droop
- Ribbon, twine, or jute cord — pick one that complements your color palette
- Scissors or a craft knife + cutting mat
- A hole punch (single or two-hole)
- A pencil and ruler for clean lines
- Optional: washi tape, stickers, stamps, or watercolor paints for decoration
- Optional: a bone folder for crisp folds
That’s it. No glue gun required (unless you want it).
Step 1: Choose Your Shape and Letters
Decide what your banner will say — “SPRING,” “HELLO,” “WELCOME,” or even just a row of shapes like flowers, triangles, or butterflies.
For letter banners, you have two easy options:
- Print and cut — Type your letters in a bold font, print them out, and use them as templates to trace onto your cardstock.
- Freehand cut — Fold a piece of paper in half and cut mirror-image letters for a clean, symmetrical look.
For shape banners, draw your shape once on cardstock, cut it out, and use it as a template to trace the rest. Consistency makes the finished banner look intentional and polished.
Step 2: Cut Your Pennants or Panels
Classic banners use triangle pennants, but rectangles, scalloped squares, and cloud shapes all work beautifully for spring.
For a standard triangle pennant:
- Cut a 5×7 inch rectangle of cardstock
- Fold it in half lengthwise
- Cut diagonally from each bottom corner up to the center fold
- Unfold — you’ve got a perfect pennant
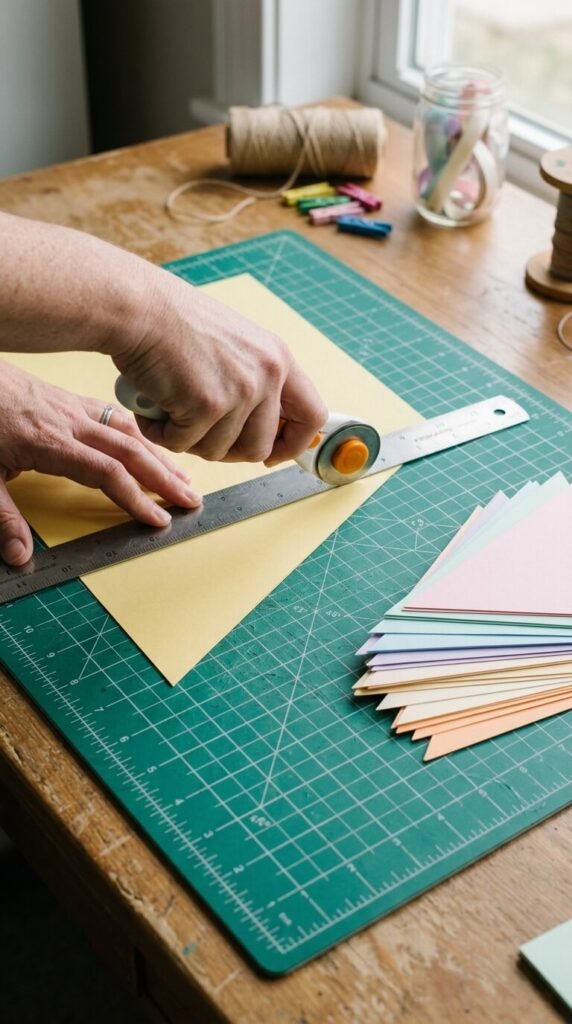
Aim for 8–12 pennants for a banner that fills a standard mantel or wall space. Go bigger if you’re decorating a longer surface like a party table or porch railing.
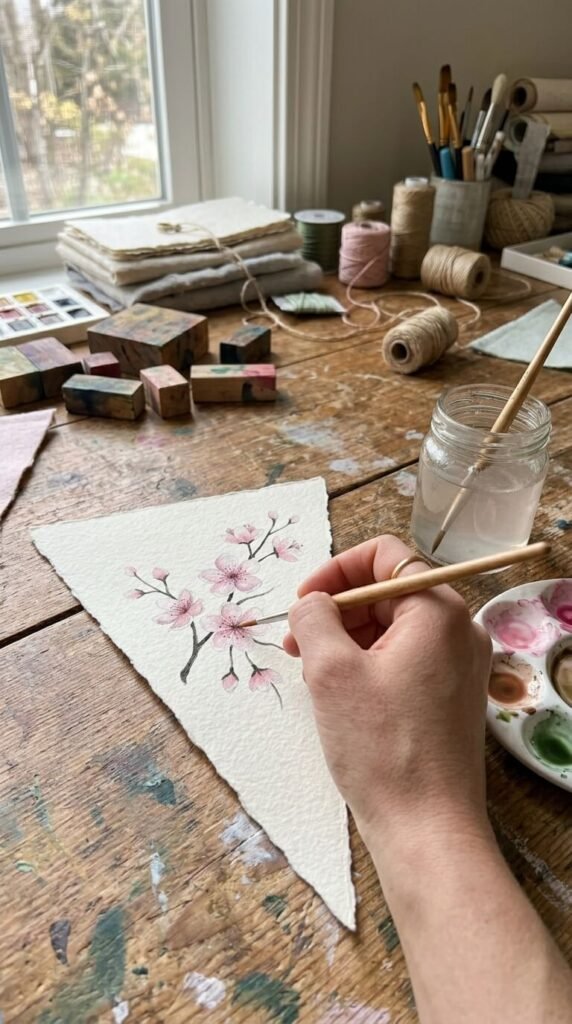
Step 3: Decorate Before You String
This is where the fun happens. Decorate each pennant before assembling the banner — it’s much easier when they’re flat.
Some quick ideas:
- Watercolor wash — brush a light coat of diluted watercolor over each piece for a soft, sun-faded look
- Stamped florals — spring blooms, leaves, and butterflies look gorgeous in ink
- Washi tape border — run a strip along the bottom edge for texture and color
- Hand-lettering — write one letter per pennant in a simple brush script
Let everything dry fully before moving to the next step.
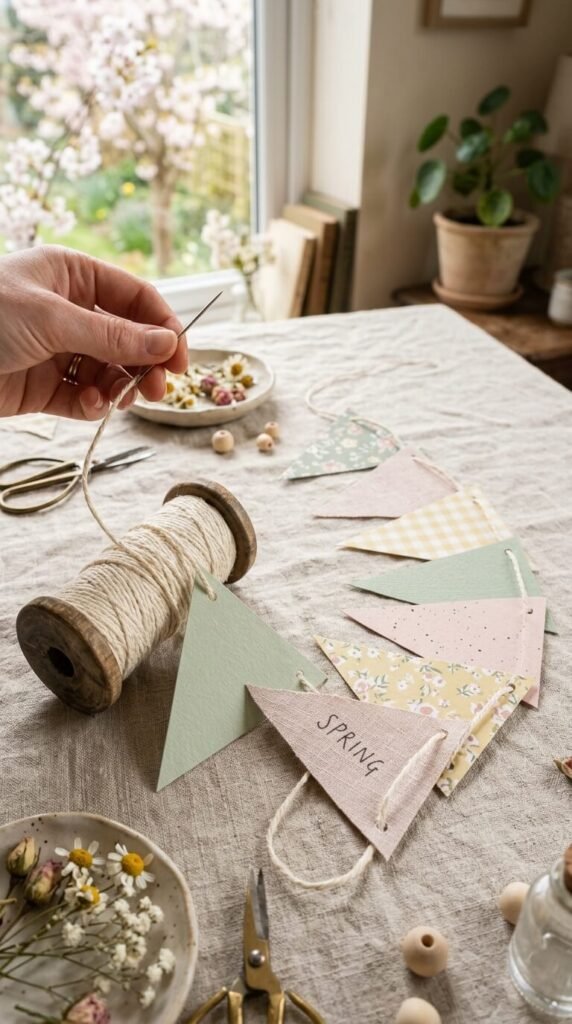
Step 4: Punch and String
Once your pennants are decorated and dry, punch two holes near the top edge of each one — about half an inch from the top and one inch from each side.
Cut your ribbon or twine to your desired length, adding at least 12 inches extra on each end so you have plenty to tie, hang, or loop.
Thread the ribbon through both holes of each pennant, leaving a small gap — about half an inch — between each one. This spacing keeps the banner from looking crowded and lets each pennant hang naturally.
Step 5: Hang and Style It
Drape your finished banner wherever it’ll get the most love. A few styling tips:
- Let it sag slightly in the middle — a gentle curve looks more natural than a tight, straight line
- Layer it over greenery, a wreath, or fairy lights for extra visual depth
- Mix textures — combine a paper banner with a ribbon bow or dried flower swag on the same wall
Step back, adjust the spacing, and enjoy the view.
You’ve Got This
A handmade spring banner is one of those projects that looks impressive but takes almost no skill — just a little patience and an eye for color. Make a few in different sizes and mix them together for a gallery-wall effect, or batch them as quick handmade gifts for friends hosting Easter or Mother’s Day brunches.
Save this tutorial and make your banner this weekend — spring doesn’t stick around forever!