There’s something almost magical about a cloche. That simple dome of glass turns an ordinary tabletop into a tiny world — a little scene frozen in time, blooming with seasonal charm. If you’ve been scrolling through spring decor ideas and keep stopping at those gorgeous cloche displays layered with moss, florals, and vintage finds, you’re in the right place. Here’s exactly how to make one yourself, from scratch, no floral design degree required.
What You’ll Need
Before you start arranging, gather your supplies. The beauty of cloche displays is that you probably already have most of this at home.
The base essentials:
- A glass cloche (any size — thrifted, vintage, or new)
- A wooden slice, ceramic dish, or decorative tray as a base
- Sheet moss or preserved moss (from a craft store or your yard)
Filler and feature pieces:
- Dried or faux spring florals (tulips, ranunculus, baby’s breath)
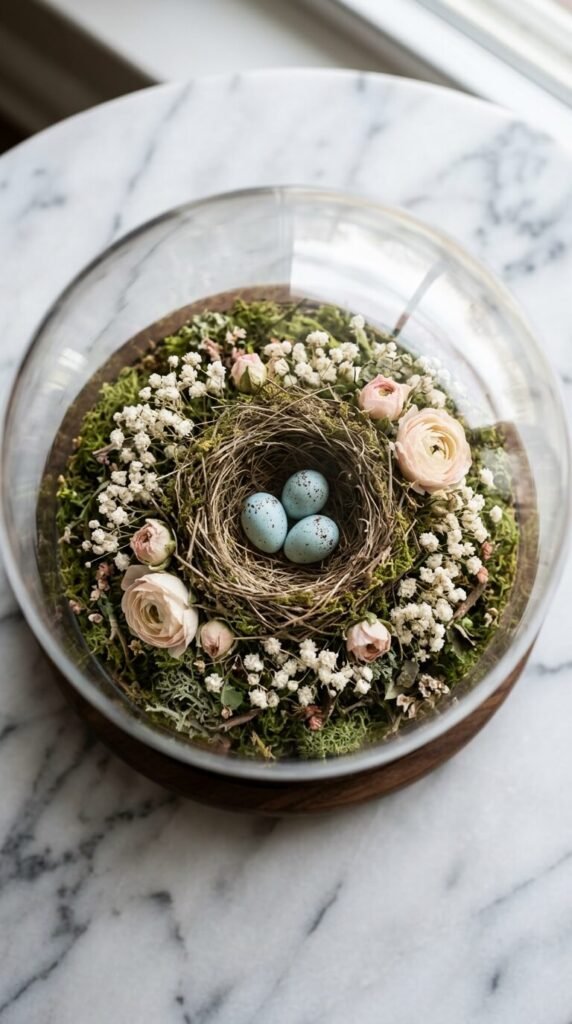
- A small focal object — a bird figurine, a nest with eggs, a tiny bunny, a quartz crystal
- Twigs, bark pieces, or small branches for height and texture
- Optional: fairy lights, a sprig of eucalyptus, or a vintage spool
You don’t need to buy everything new. Thrift stores are goldmines for glass cloches and quirky little figurines. Mixing old and new is part of what makes these displays feel so personal.

Step 1: Build Your Base Layer
Start with your base — a wooden slice, a small pedestal dish, or a shallow tray. This is what your cloche will sit on top of, so make sure it’s slightly wider than the cloche opening for a clean, finished look.
Cover the base generously with sheet moss. Press it down and tuck it around the edges so it feels organic, like something that grew there. If the moss feels too flat, crumple a small piece of paper underneath to add height in the center. This small trick gives your arrangement a gentle dome shape that looks lush and full.
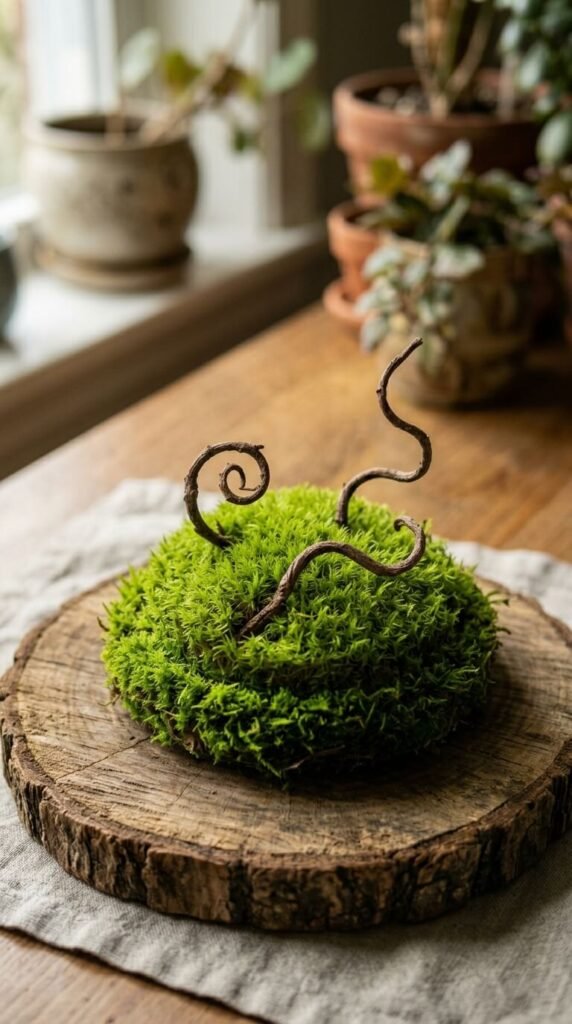
Step 2: Add Structure With Branches or Twigs
Before you place any florals, tuck in a few small twigs or a piece of curly willow. This creates vertical interest and breaks up the softness of the moss.
Keep it minimal here — one or two branches max. Think of them as the bones of your arrangement. They give the eye somewhere to travel and make the whole display feel more like a little world than a flat vignette.
Step 3: Place Your Focal Object
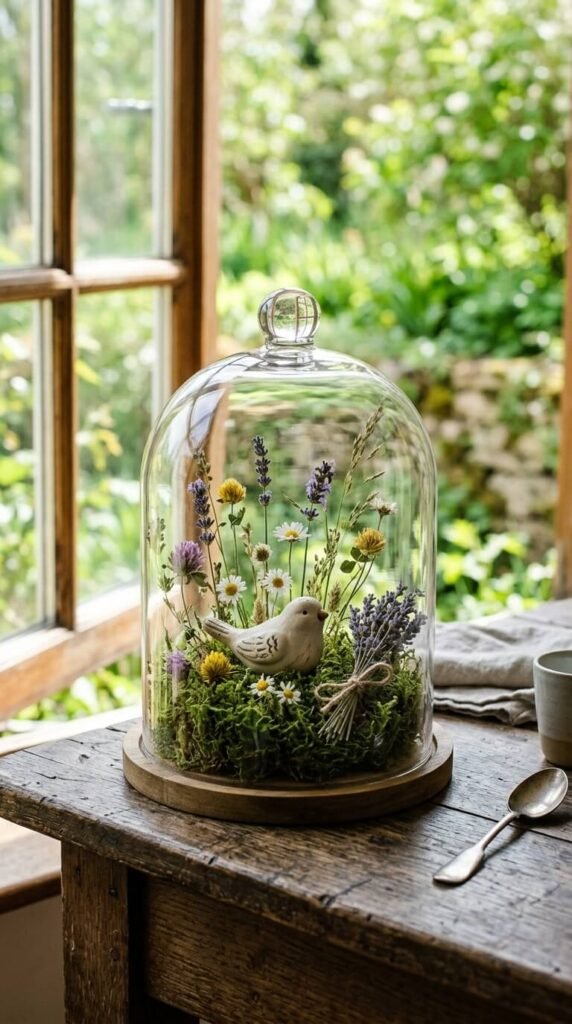
This is the heart of your display. Whatever object you choose — a ceramic bird perched mid-moss, a miniature bunny nestled between branches, a robin’s egg nest, a crystal point — place it slightly off-center. Dead center looks staged. Off-center looks intentional and artistic.
Play around with height too. A bird looks more natural when it’s tucked into the moss than when it’s propped up on something. Ground it. Let it belong.
Step 4: Layer in Your Spring Florals
Now for the most satisfying part. Tuck dried or faux florals around your focal object in small clusters. Vary the height — some stems shorter and nestled into the moss, others a little taller reaching toward the glass dome.
Good spring picks:
- Dried white or blush ranunculus for a soft, romantic feel
- Baby’s breath for airy texture
- Dried lavender for color and a subtle earthy vibe
- Faux tulip buds for a classic spring touch
Avoid overcrowding. White space (moss space!) is your friend. A cloche display that breathes looks more curated than one stuffed full.
Step 5: Place the Dome and Style the Vignette
Gently lower your cloche over the arrangement. Step back and look at it from every angle. Rotate the base slightly until the best side faces outward.
Now style around the cloche to complete the vignette:
- Add a small stack of vintage books beside it
- Tuck a trailing sprig of eucalyptus under the base edge
- Place a candle or bud vase nearby
- Set it on a linen runner or a wooden tray with a few other spring objects
The cloche is the star, but the vignette is the stage. Give it a little room to breathe and it’ll look like something straight off a magazine page.
A Few Tips Before You Go
- Lighting matters. Place your cloche near natural light — it makes the glass glow beautifully.
- Preserved moss stays green for months without any watering.
- Switch out the focal object seasonally to keep the same cloche feeling fresh all year.
- Thrift stores and estate sales almost always have glass domes — keep an eye out and you’ll build a collection fast.
Spring cloche displays are one of those projects that look complicated but come together in under 30 minutes once you have your pieces. The hardest part is stopping yourself from making six of them.
Save this for your next weekend project — and try making one for your entryway, your kitchen shelf, or your coffee table. Once you start, you won’t stop.