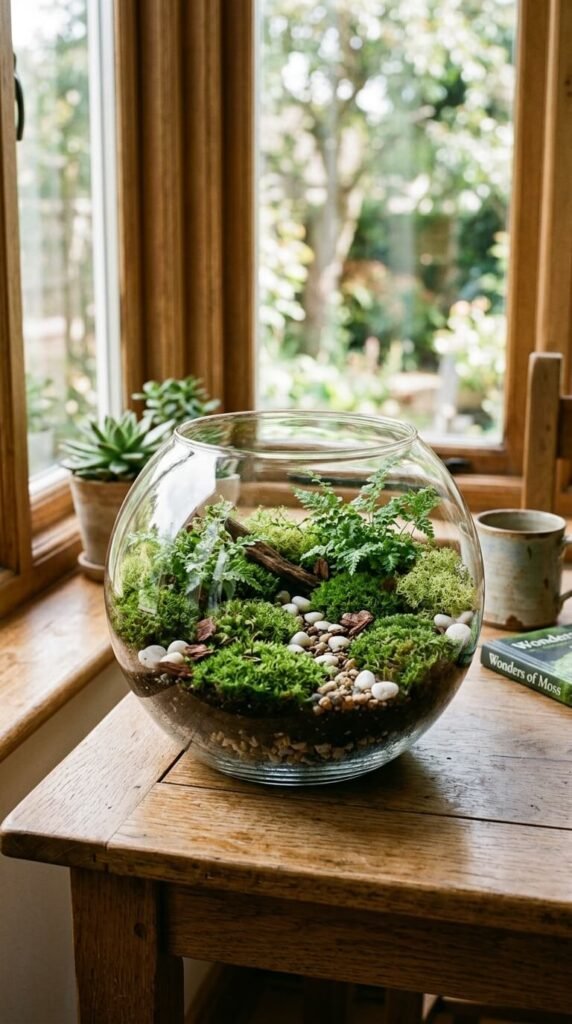
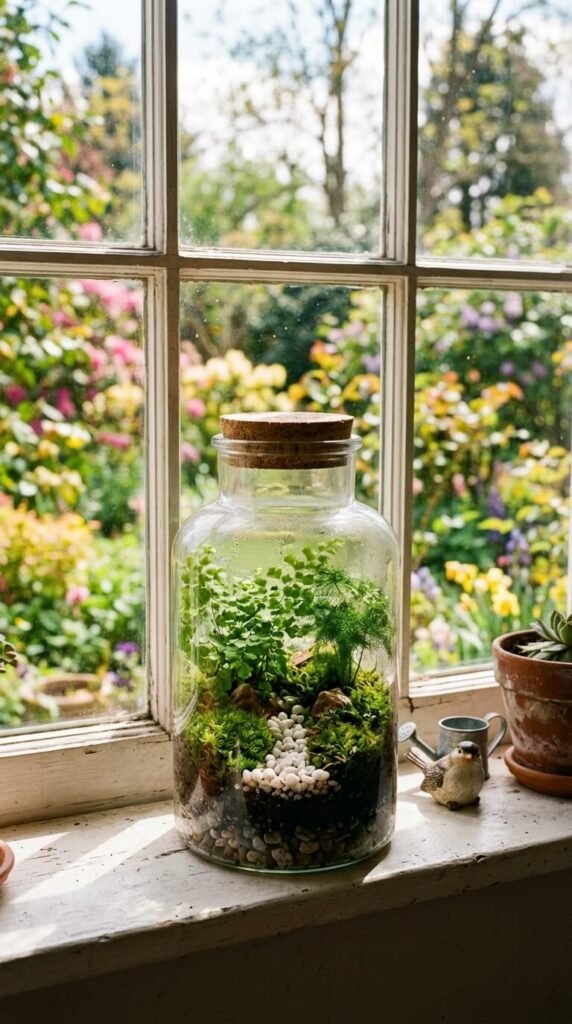
There’s something almost magical about capturing an entire little world inside a glass jar. A spring terrarium does exactly that — it takes all the freshness of the season (the soft moss, the tiny ferns, the dewy soil) and lets you keep it on your windowsill forever. And the best part? You don’t need a green thumb or a big budget. Just a glass container, a handful of plants, and about an hour of your afternoon.
Whether you’re making one for your home office, gifting it to a friend, or doing a fun weekend project with kids, this guide walks you through every step — from picking the right container to keeping your tiny garden thriving all season long.
What You’ll Need Before You Start
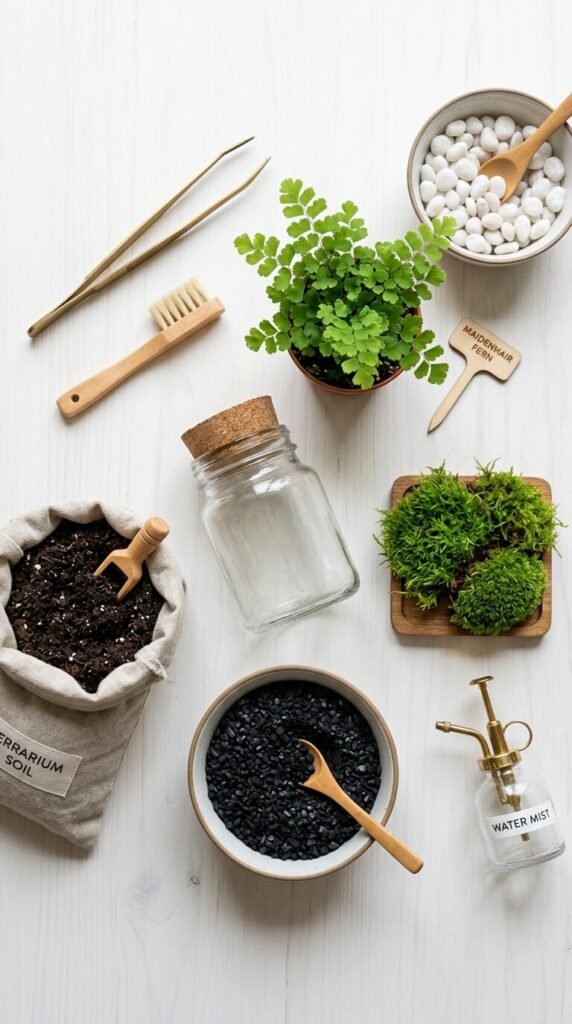
Gathering your supplies first makes the whole process smooth and stress-free. Here’s your quick shopping list:
- Glass container — a fish bowl, wide-mouth mason jar, apothecary jar, or old vase all work beautifully
- Pebbles or gravel — for drainage at the bottom (about 1–2 inches worth)
- Activated charcoal — a thin layer keeps things fresh and odor-free
- Potting mix — look for a well-draining blend; cactus mix works if you’re planting succulents
- Moss — sheet moss or preserved moss adds that classic spring look
- Small plants — ferns, baby’s tears, peperomia, or nerve plants are all great choices
- Decorative extras — mini pebbles, small crystals, tiny figurines, driftwood
You can find most of these at a garden center, craft store, or even order them online. The whole supply list typically costs under $30.
Step 1: Build Your Drainage Layer
Start by adding about an inch or two of pebbles or gravel to the bottom of your glass container. This is the foundation of your terrarium — it keeps water from pooling around the roots and causing rot.
Next, sprinkle a thin layer of activated charcoal on top of the pebbles. It acts like a natural filter, preventing bacteria and mildew from building up inside the closed environment. You don’t need much — just enough to lightly cover the gravel.
Step 2: Add the Soil
Scoop in your potting mix — you want at least 2–3 inches so your plants have enough room to root. If you’re going with succulents or cacti, use a sandy, well-draining mix. For tropical plants like ferns or mosses, a standard potting mix with a bit of peat works great.
Tip: Slightly moisten your soil before adding it. It should feel damp like a wrung-out sponge — not soggy, not bone dry.
Step 3: Plant and Arrange
This is the fun part. Use a spoon or your fingers to create small holes in the soil and nestle each plant in gently. Start with the tallest plant at the back and work your way forward with shorter ones — this creates depth and makes the whole thing look more like a tiny natural scene.
Press the soil gently around the roots to secure each plant, then fill in gaps with sheet moss. The moss not only looks gorgeous but also helps retain moisture between waterings.

Step 4: Add Decorative Touches
Now for the finishing details. A few white pebbles, a smooth river stone, a small piece of driftwood, or even a tiny ceramic mushroom can turn your terrarium from pretty to absolutely dreamy.
Think of this layer as the personality of your terrarium. Keep it simple — two or three elements is usually all you need. Overcrowding it takes away from the lush, natural feel you’re going for.
Step 5: Water and Place It
Give your terrarium a light watering using a spray bottle or a small pour. You want the soil to be moist but not drenched. For open terrariums, you’ll water every 1–2 weeks depending on the humidity in your home. For closed terrariums, condensation does most of the work — you may only need to water every few weeks.
Place your finished terrarium in a spot with bright, indirect light. A windowsill that gets morning sun is ideal. Avoid harsh afternoon sun, which can scorch the plants through the glass.
Keeping Your Terrarium Happy All Spring
Once your terrarium is set up, it’s basically low maintenance. A few things to keep in mind:
- Watch for yellowing leaves — usually a sign of too much water
- Trim plants if they start to outgrow the space
- Wipe down the glass every couple of weeks to keep it looking clear and fresh
- Rotate the jar occasionally so all sides get even light exposure
With just a little attention, your spring terrarium can thrive for months — even years.
Spring is the perfect time to bring a little living art into your home, and a glass terrarium is one of the easiest ways to do it. Save this guide for your next slow Sunday project — and don’t be surprised if you end up making two.