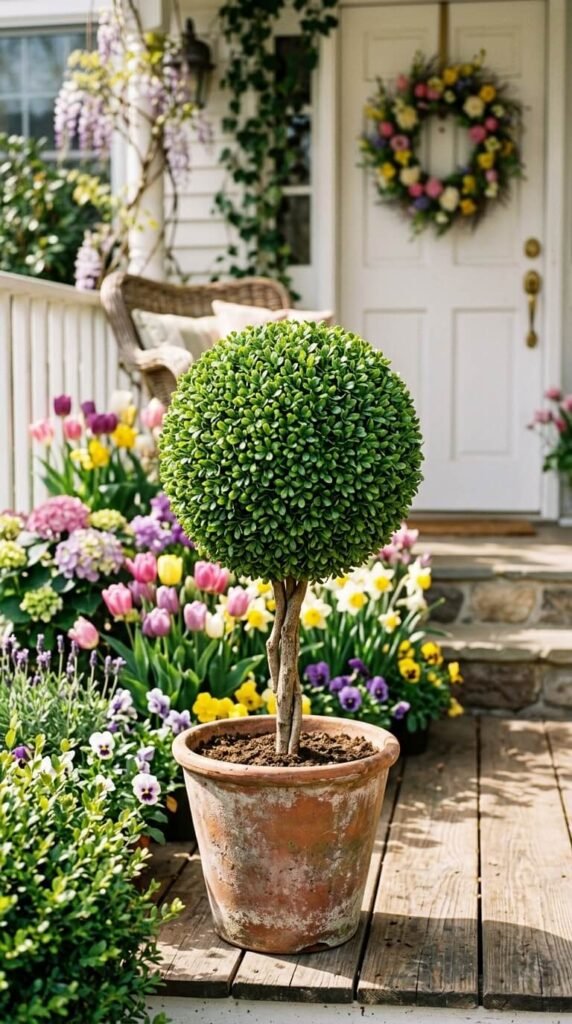
You walk into a garden center, spot that perfectly shaped boxwood ball sitting in a terracotta pot, and your jaw drops — until you see the price tag. Sound familiar? Here’s the secret most home decorators don’t know: you can make a spring topiary that looks just as real for a fraction of the cost, and it takes less than an afternoon. Whether you want it for your front porch, entryway, or dining table, this guide walks you through everything.
What You’ll Need Before You Start
Gathering your supplies ahead of time makes the whole process flow smoothly. Here’s what to pick up:
- A foam or moss ball (8–12 inches works great for most pots)
- Faux boxwood stems or mixed greenery picks — look for realistic, varied leaf sizes
- A sturdy pot with a pre-drilled drainage hole (terracotta, concrete, or a classic urn shape all work)
- Floral foam or quick-setting cement to anchor your stem
- A wooden dowel or thick branch for the “trunk” (about 12–18 inches long)
- Hot glue gun and glue sticks
- Moss sheet or decorative stones to top-dress the pot
- Wire cutters for trimming stems
The quality of your faux greenery matters more than anything else here. Skip the flat, plasticky picks and look for stems with multiple shades of green, slight texture variation, and matte finishes. Craft stores like Hobby Lobby or Michaels usually have exactly what you need — and they’re almost always on sale.
How to Build the Topiary Base
This is where the magic happens. A good base is what separates a topiary that looks real from one that looks, well, crafty.
Step 1: Anchor your dowel in the pot. Mix quick-setting cement (or pack floral foam tightly) into the bottom two-thirds of your pot. Push your dowel or branch firmly into the center and hold it upright until it sets. Let it cure completely — usually 20–30 minutes for fast-set cement.
Step 2: Attach the foam ball to the top. Once your trunk is secure, press the foam ball firmly onto the top of the dowel. If it feels wobbly, add a dab of hot glue around the joint for extra hold.
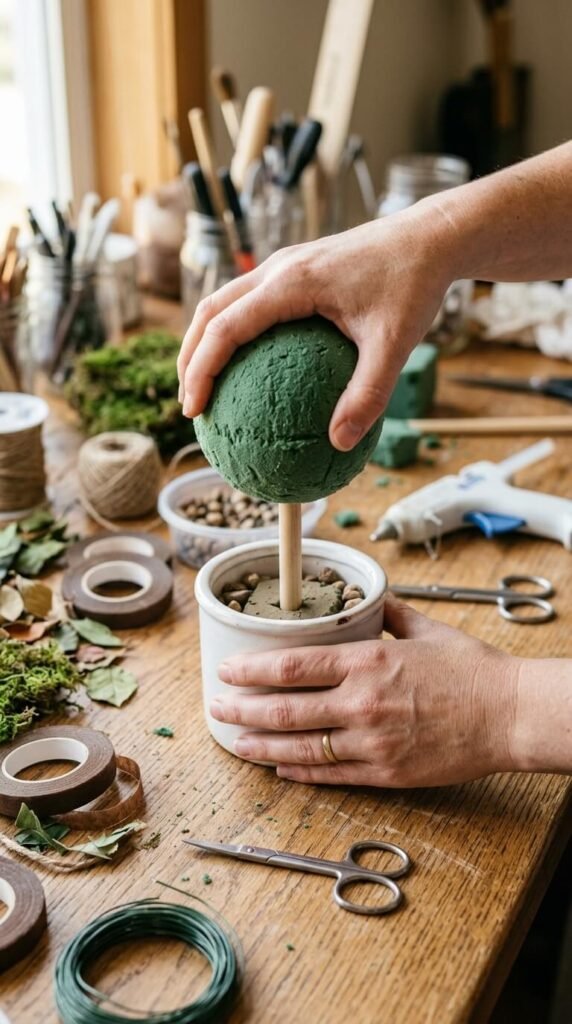
Step 3: Cover the base. Top-dress the cement or foam in the pot with sheet moss, preserved moss, or decorative pebbles. This one small step adds so much realism — real topiaries always have something at the base.
Filling In Your Topiary Ball
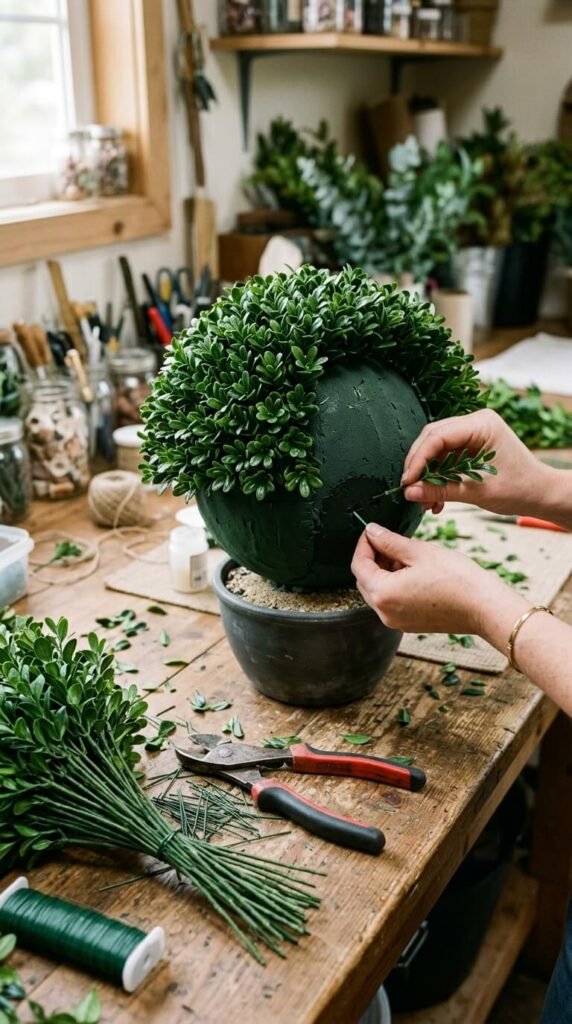
Here’s where patience pays off. The fuller and more layered your ball, the more convincing the final result.
- Start with longer stems and insert them evenly around the entire ball, spacing them about 2 inches apart.
- Work in sections — top, middle, and bottom — rotating the ball as you go.
- Layer in shorter picks between the longer ones to eliminate any visible gaps.
- Vary your stem angles slightly. Real plants don’t grow perfectly uniform, so a little randomness is your friend.
Don’t be shy about how many picks you use. Most beginners under-fill their ball, which is the number one reason a faux topiary ends up looking fake. You want it dense and lush.
The Details That Make It Look Real
The difference between “cute craft project” and “wow, is that real?” comes down to a few finishing touches.
- Trim any stems that stick out too far with wire cutters to keep the round shape tight.
- Add a few accent picks — small white berry stems, a sprig of eucalyptus, or a mini flower cluster tucked in gives it that just-trimmed garden look.
- Mist the finished topiary with a 1:1 mix of water and fabric softener. This gives the leaves a subtle sheen and knocks off any manufacturing dust.
- Place it in a spot with indirect light so the colors stay vibrant longer.

Where to Display Your Spring Topiary
Once you’ve made one, you’ll want to make a pair — because topiaries almost always look better in twos. Try these placement ideas:
- Flanking a front door for instant curb appeal
- Centered on a console table in an entryway
- On either side of a fireplace mantel
- As a dining table centerpiece in a low, wide pot
Swap out your accent picks seasonally — spring florals in April, small pumpkin picks in October — and the same topiary base carries you through the whole year.
You’ve Got This
Making a spring topiary that looks real isn’t about having fancy skills — it’s about choosing quality materials, being generous with your greenery, and adding those small realistic details that fool the eye. Once you nail the technique, you’ll have a go-to DIY that works for every season and every corner of your home.
Save this article and pin it for your next weekend project — your front porch is about to get a serious upgrade.