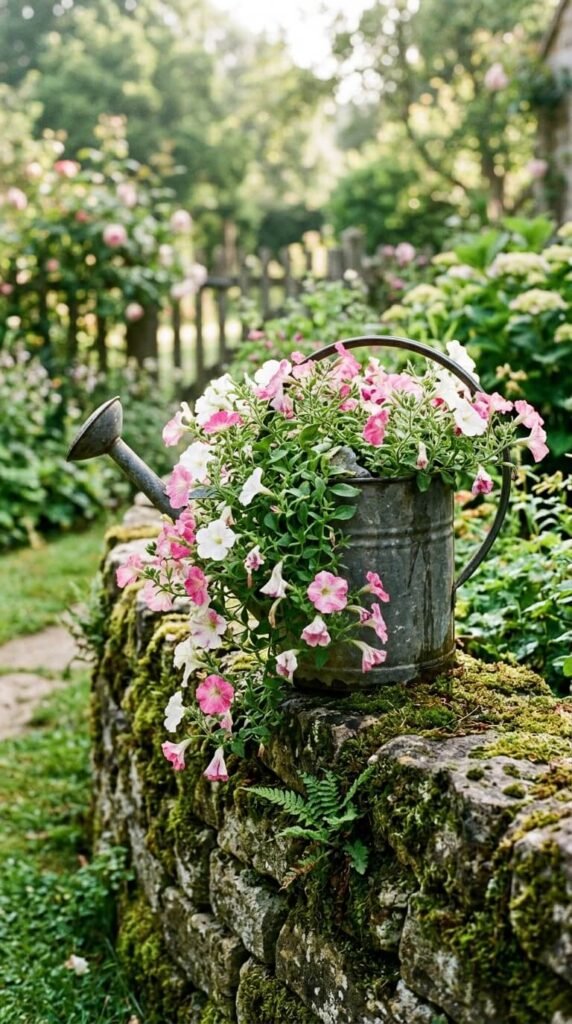
There’s something almost magical about turning an old watering can into a planter. One minute it’s a forgotten relic rusting in the corner of the garage — the next, it’s spilling over with trailing vines and cheerful blooms on your front porch. This DIY project is one of those rare wins that costs almost nothing, takes less than an afternoon, and looks like it came straight from a farmhouse garden catalog.
Whether you’re a seasoned gardener or a total beginner, this project is for you. Let’s walk through exactly how to pull it off.
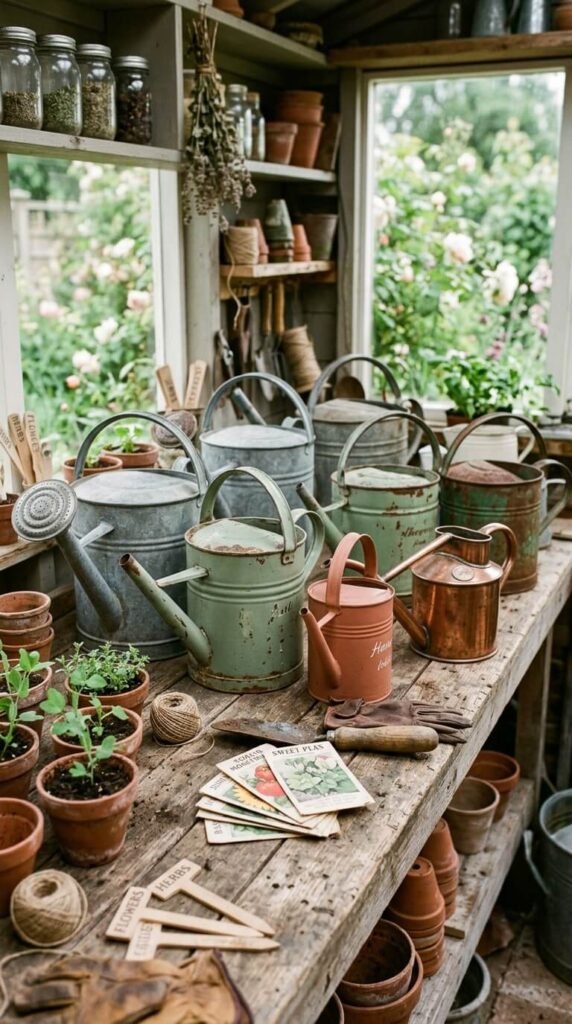
What You’ll Need
Before you start, gather your supplies. The good news? Most of these are things you probably already have — or can pick up for just a few dollars.
- An old watering can (metal, enamel, or even plastic works)
- Potting mix suited for container planting
- Small rocks or gravel for drainage
- Your choice of plants (more on this below)
- A drill with a small drill bit (or a hammer and nail)
- Outdoor spray paint or rust-proof paint (optional, for a refresh)
- Moss or coco coir liner (optional, for a more natural look)
The watering can itself is the star of the show. Check thrift stores, garage sales, or even your own shed. Older, weathered cans add the most character — dents and all.
Step 1: Prep Your Watering Can
Start by giving your can a good rinse and scrub. Remove any loose rust, dirt, or old paint. If you want to refresh the color, now’s the time to spray paint it. Matte black, sage green, and terracotta red are all stunning choices for outdoor planters.
Once dry, flip the can upside down and drill 3 to 5 small drainage holes in the bottom. This step is critical — without drainage, your plants will sit in soggy soil and eventually rot. If you don’t have a drill, a hammer and a large nail work just as well for thin metal cans.
Step 2: Set Up Your Drainage Layer
Add a thin layer of small rocks or gravel to the bottom of the can — about an inch deep. This keeps the drainage holes from clogging with soil and ensures water moves freely through the container.
On top of that, fill the can about two-thirds of the way with a good-quality potting mix. Avoid using straight garden soil — it compacts too easily in containers and doesn’t drain well.
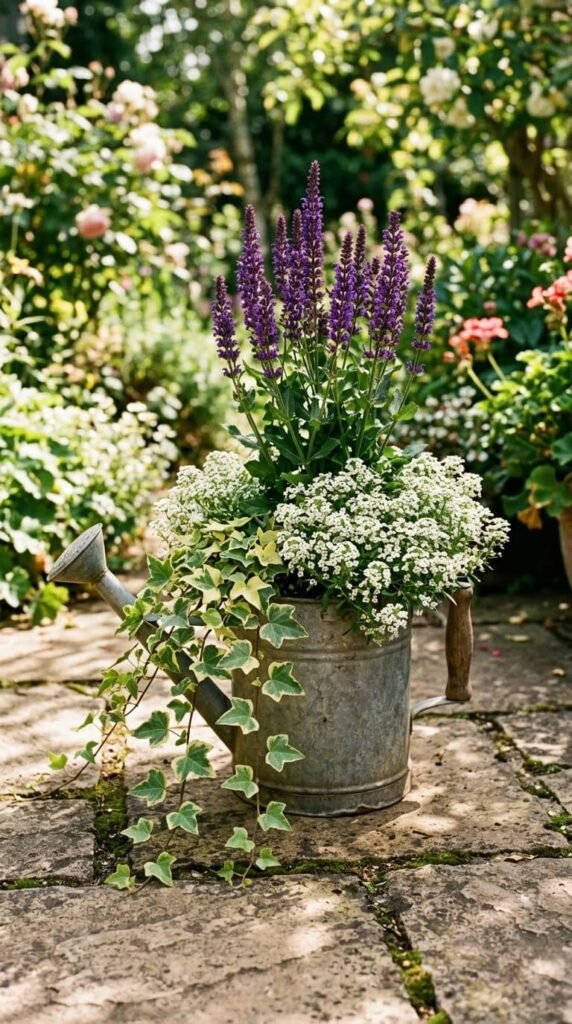
Step 3: Choose the Right Plants
This is where the real fun begins. The best plants for a watering can planter are compact, low-maintenance, and visually interesting. Here are some top picks:
- Trailing plants like ivy, sweet potato vine, or bacopa spill beautifully over the spout and sides
- Succulents like hens-and-chicks or echeveria are perfect for a low-water setup
- Herbs like thyme, oregano, or mint are both pretty and practical
- Annuals like petunias, calibrachoa, or lobelia bring color all season long
For the most eye-catching result, combine a thriller (tall, upright plant), a filler (bushy, mounding plant), and a spiller (trailing plant). This classic combo creates that lush, layered look you see all over Pinterest.
Step 4: Plant and Style
Place your plants into the can, starting with the tallest in the center or back. Fill in gaps with additional potting mix, pressing gently around the roots to eliminate air pockets. Water thoroughly until it drains from the bottom holes.
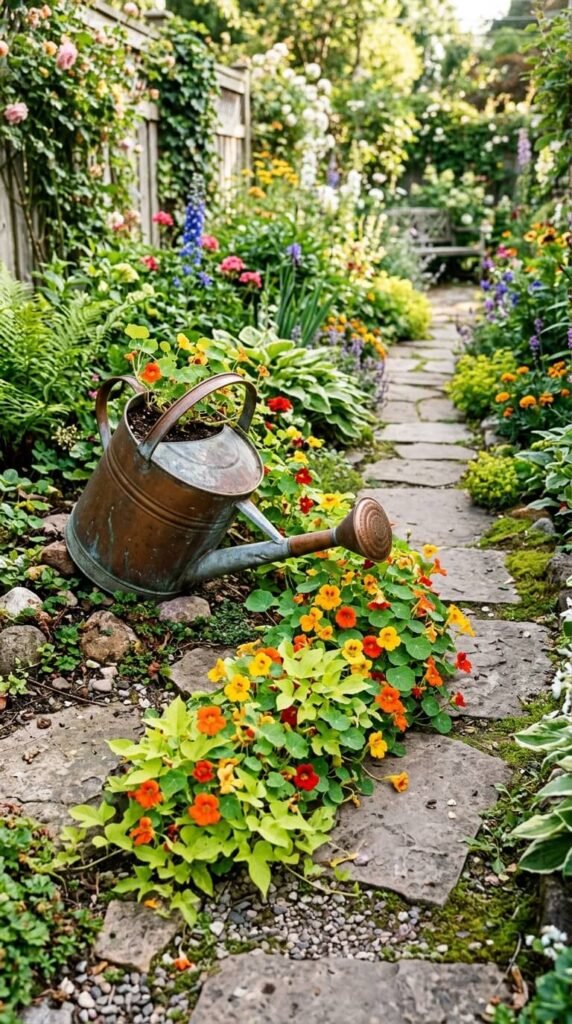
Now for the fun part — styling your planter. A few ideas:
- Tilt the spout toward the ground for a whimsical “pouring” effect
- Nestle a second small pot beneath the spout as if the can is watering it
- Group two or three cans of different sizes together for a statement display
- Tuck your planter into a raised garden bed, on a front porch step, or hang it on a fence post
Caring for Your Watering Can Planter
Watering can planters tend to dry out faster than larger containers, so check soil moisture every day or two in hot weather. Water when the top inch of soil feels dry to the touch.
A few extra tips to keep it thriving:
- Fertilize every two weeks during the growing season with a balanced liquid fertilizer
- Deadhead spent blooms on annuals to encourage continuous flowering
- Move it indoors or to a sheltered spot if you’re expecting a hard frost
- Repaint annually to keep metal cans looking fresh and rust-free
Ready to Give It a Try?
A watering can planter is one of those projects that delivers big impact with minimal effort. It’s budget-friendly, beginner-proof, and completely customizable to your style — whether you lean rustic farmhouse, modern minimalist, or full-on cottage garden.
The best part? Every time someone stops to admire it, you get to say you made it yourself.
Save this article and come back to it when you’re ready to plant — and share your finished creation with us over at craftoftheday.com!