There’s something almost magical about the way colors melt into each other in an ombre finish — and when those colors are soft blush pinks, minty greens, and lavender purples, you’ve got spring decor that practically blooms off the shelf. The best part? You don’t need to be an artist to pull this off. With a few basic supplies and a little patience, you can transform plain vases, pots, frames, and trays into gorgeous gradient showpieces that look straight out of a boutique home store.
What You’ll Need Before You Start
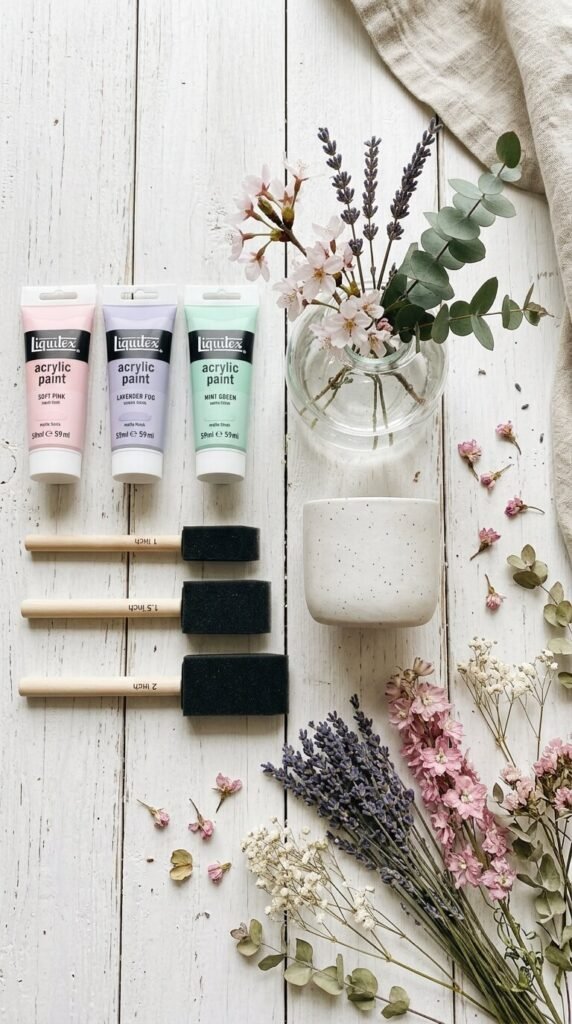
Gathering your supplies first makes the whole process smoother. Here’s what to have on hand:
- Acrylic craft paint in 2–3 spring colors (think blush, sage, lilac, sky blue, or peach)
- White paint for blending and lightening tones
- A foam brush or sponge for soft blending
- A flat bristle brush for base coats
- Your surface — vases, terracotta pots, wooden frames, glass jars, or decorative trays all work beautifully
- Painter’s tape if you want clean edges
- A palette or paper plate for mixing
- Sealer or Mod Podge to protect the finish when dry
Tip: Acrylic paint is your best friend here because it dries fast, blends easily while wet, and adheres to almost any surface with light sanding or a primer coat first.
Choosing Your Spring Color Palette
The ombre effect looks most polished when you work within a cohesive color family. Some gorgeous spring combos to consider:
- Blush → White — Clean, romantic, and effortlessly fresh
- Lavender → Mint — Dreamy and unexpected in the best way
- Peach → Coral → Yellow — Warm, sunny, and full of energy
- Sky Blue → Soft Green — Feels like a watercolor garden painting
Stick to two or three shades for your first project. More than three can get muddy fast unless you’re experienced with color blending.
How to Apply the Ombre Effect Step by Step
This is where the fun begins. The technique is simpler than it looks.
Step 1: Prep your surface. Clean it, let it dry completely, and apply a white base coat if needed. This helps the spring colors pop and stay true to tone.
Step 2: Apply your lightest color at the top. Using a flat brush, paint the top third of your piece with your lightest shade (or white). Don’t let it dry completely — you want it slightly tacky for blending.
Step 3: Add the middle tone. Brush the middle section with your mid-tone color, slightly overlapping the first section while both are still wet.
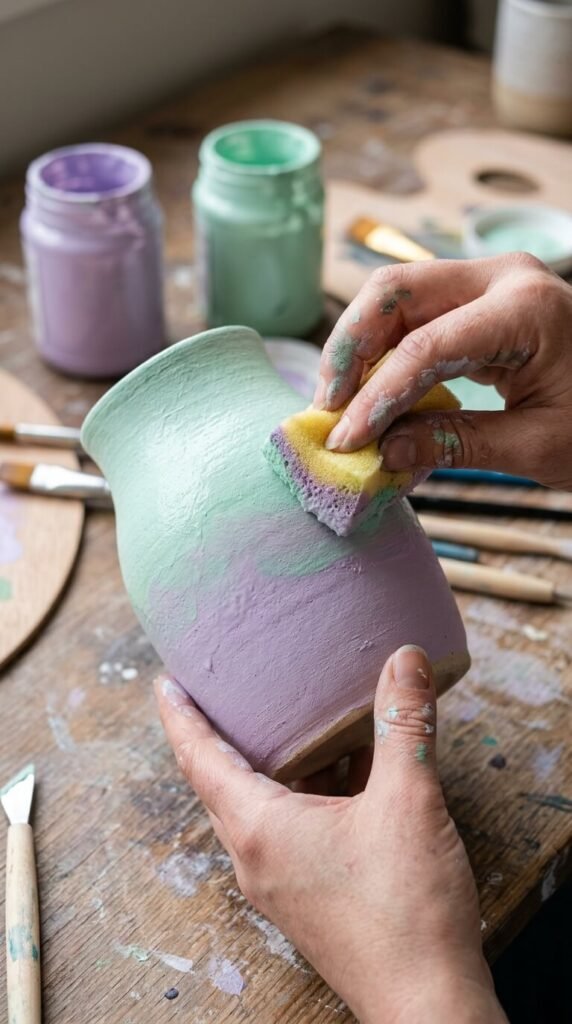
Step 4: Blend the overlap zone. This is the magic moment. Using a damp foam sponge or brush, gently dab and blend the area where the two colors meet. Use small circular or side-to-side motions. The goal is a soft, seamless fade — not a hard line.
Step 5: Add the deepest color at the bottom. Apply your darkest or most saturated shade at the base, then blend upward into the middle tone the same way.
Step 6: Let it dry and evaluate. Once dry, you can add a second coat to deepen any section or soften any blending that looks too abrupt.
Creative Ways to Use Ombre Spring Decor
Once you’ve mastered the technique, the ideas are endless:
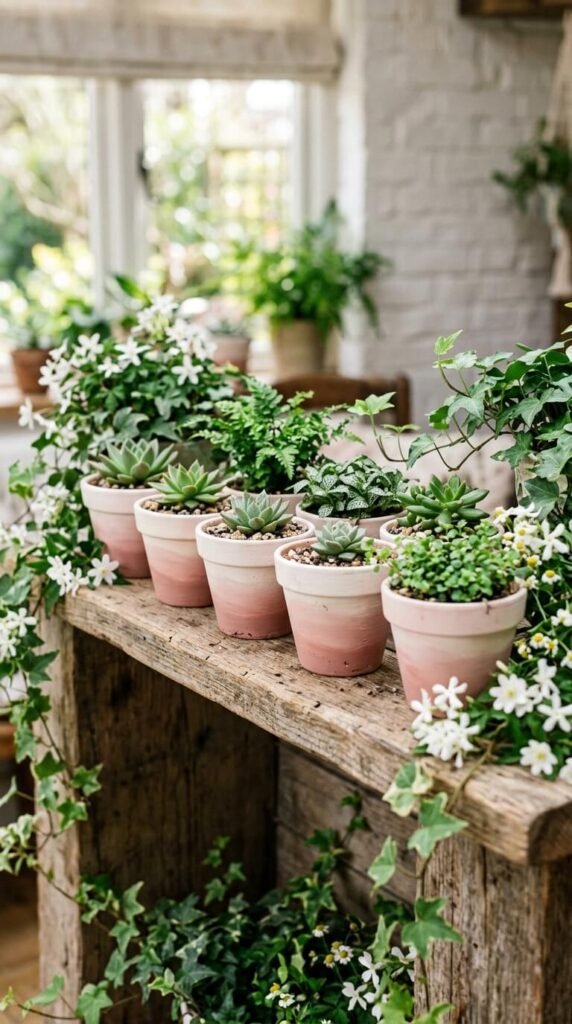
- Terracotta pots — Paint a set in graduating ombre tones and group them on a windowsill for a cohesive look
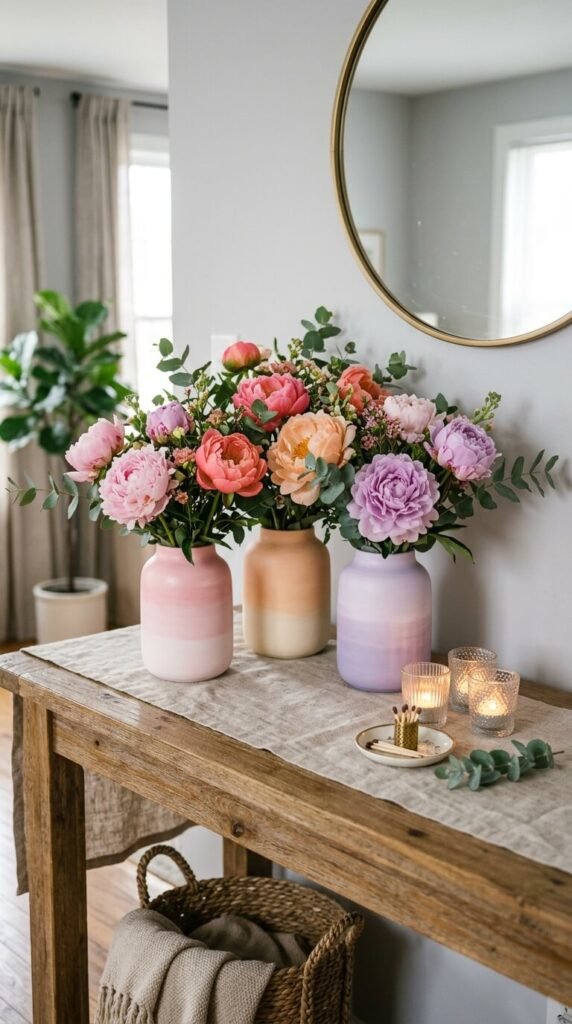
- Glass vases — Use glass paint for a luminous, light-catching finish
- Wooden frames — Ombre frames make spring gallery walls feel intentional and fresh
- Candle holders — Even plain pillar candles can get the ombre treatment with diluted acrylic
- Decorative trays — A blush-to-white tray styled with greenery is endlessly pinnable
Seal It and Show It Off
Once your piece is fully dry — ideally after 24 hours — apply a clear matte or gloss sealer to protect the finish, especially for pieces that will be handled regularly or sit outdoors.
Matte sealer keeps the look soft and painterly. Gloss sealer adds a polished, almost ceramic-like sheen. Either way, your piece is now ready to style.
Spring decor doesn’t have to be store-bought to look stunning. With a few tubes of paint and an afternoon to spare, you can fill your home with color that feels custom, handcrafted, and completely yours.