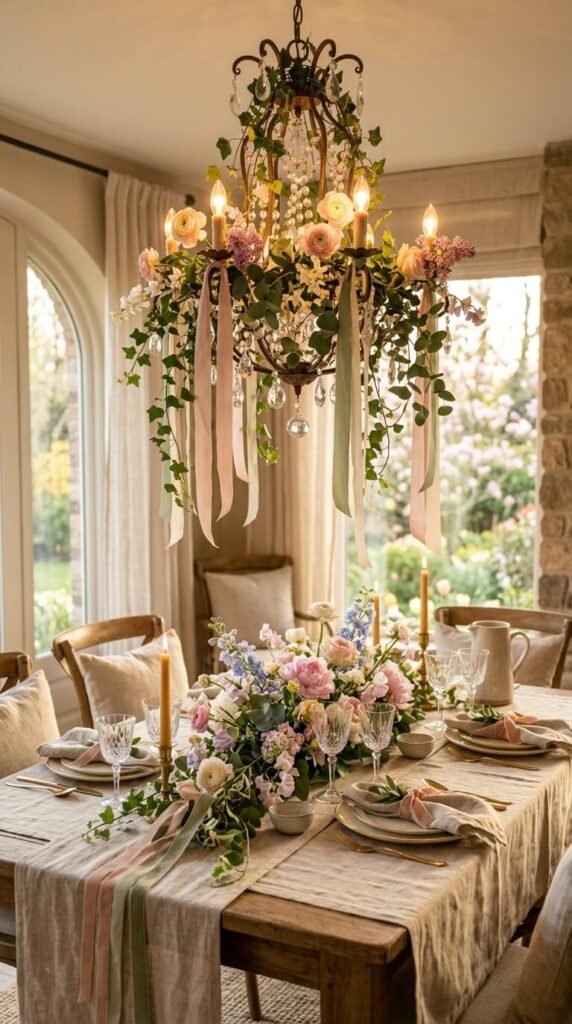
There’s something magical about walking into a room and seeing a chandelier dressed for the season — soft blooms, trailing greenery, and gentle movement catching the light. Spring chandelier decor is one of those simple DIY projects that makes a huge impact without a huge budget. Whether your chandelier is a grand iron statement piece or a simple pendant light, this trend works beautifully in any home.

What You’ll Need Before You Start
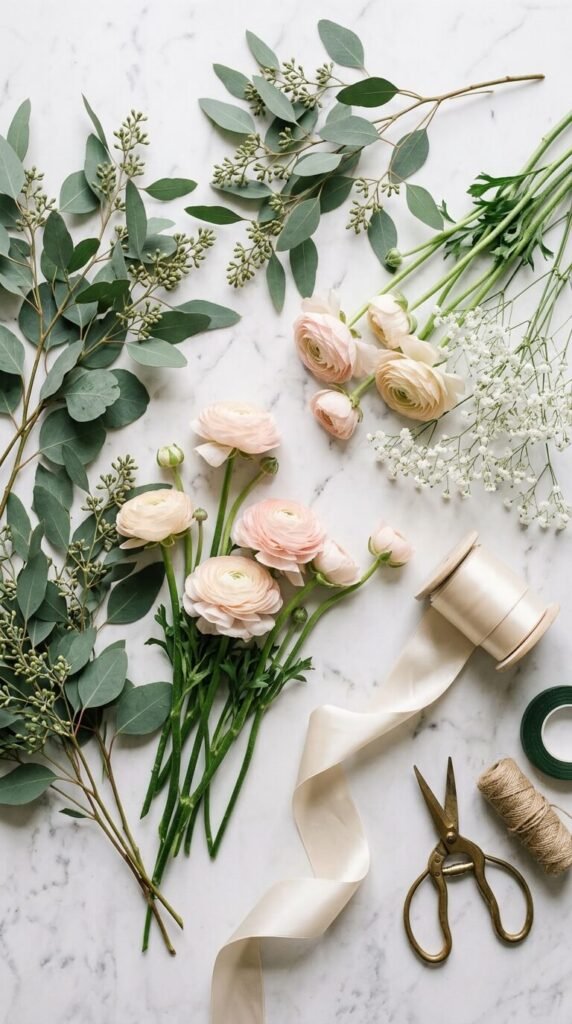
Gathering your supplies ahead of time makes this project smooth and stress-free. Here’s what to have on hand:
- Faux or fresh florals — peonies, ranunculus, baby’s breath, and lavender all work beautifully
- Greenery — eucalyptus stems, ivy trailing vines, or fern sprigs add softness
- Floral wire or zip ties — for securing everything in place
- Ribbon or twine — satin ribbon in cream, blush, or sage adds an elegant finishing touch
- Wire cutters and scissors
- Optional: small bird nests, butterflies, or pastel eggs for a whimsical Easter feel
Fresh florals are stunning but will last only a few days. If you want your chandelier to stay dressed for the whole season, high-quality faux stems are your best friend.
How to Prep Your Chandelier
Before you start attaching anything, take a moment to map out your design. Stand beneath your chandelier and look up — notice the arms, the spacing, and where the eye naturally travels.
A few prep tips:
- Turn off the light and let any bulbs cool completely before you touch anything
- Wipe down the chandelier with a dry cloth so floral wire grips cleanly
- Cut your stems to varied lengths — a mix of short and long pieces creates a natural, layered look rather than a stiff, uniform arrangement
Start with your greenery as the base layer. Wrap eucalyptus or ivy loosely around each arm of the chandelier, securing it with floral wire every few inches. Don’t pull too tight — you want a relaxed, organic drape, not a wrapped look.
Adding the Florals
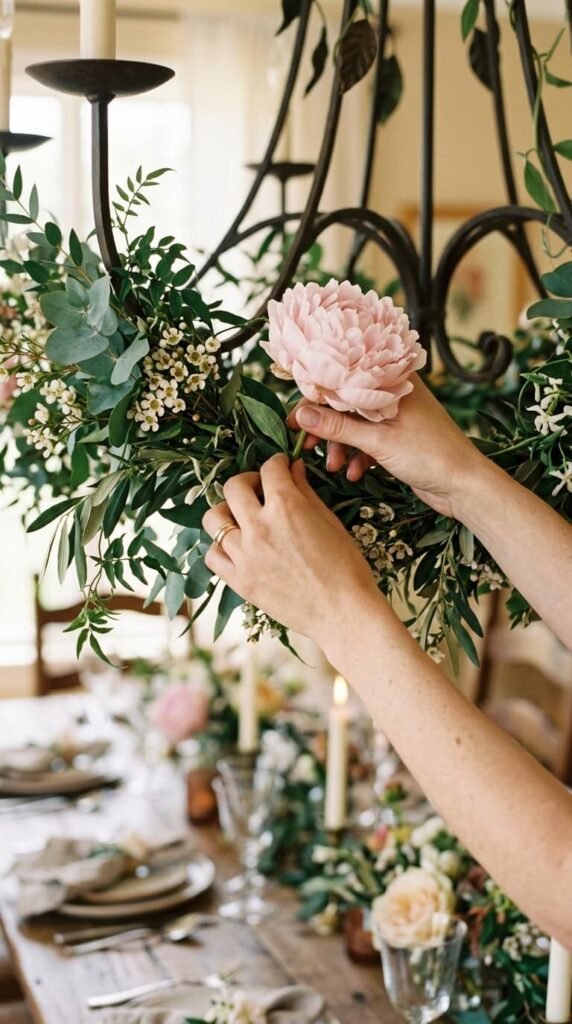
Once your greenery is in place, it’s time for the fun part — tucking in your blooms.
- Work from the outside in, starting at the tips of each chandelier arm and moving toward the center
- Cluster flowers in odd numbers — groups of three feel more natural than even pairs
- Vary your flower sizes — pair a large peony with smaller ranunculus and a sprig of baby’s breath for depth
- Don’t overfill — negative space lets each flower breathe and keeps the overall look elegant rather than cluttered
Tuck stems into the floral wire wrapped around the greenery, or use small pieces of additional wire to secure individual blooms. For hanging elements, tie ribbon or longer trailing vines directly to the arms so they drape downward.
The Finishing Touches That Make It Look Intentional
The difference between a chandelier that looks styled and one that looks thrown together comes down to the details.
- Add ribbon streamers — cut three to five lengths of satin ribbon in varying sizes and tie them to the center of the chandelier so they hang down gracefully
- Check for balance — step back and look from all sides; adjust any arms that look heavier than others
- Layer textures — combine something soft (ribbon), something airy (baby’s breath), and something full (peonies) for visual interest
- Add a small surprise — a tiny bird nest tucked into the center or a few hanging pastel eggs on thin twine brings a sweet, seasonal detail
How Long Will It Last?
If you use fresh florals, plan to enjoy your chandelier display for about three to five days before the blooms start to fade. Mist them lightly with water each morning to extend their life.
Faux stems, on the other hand, can stay up for the entire spring season — just store them carefully when you’re ready to swap in summer decor.
Spring chandelier decor is one of those projects that looks like it took all day but actually comes together in under an hour. Once you try it, you’ll want to dress every chandelier in