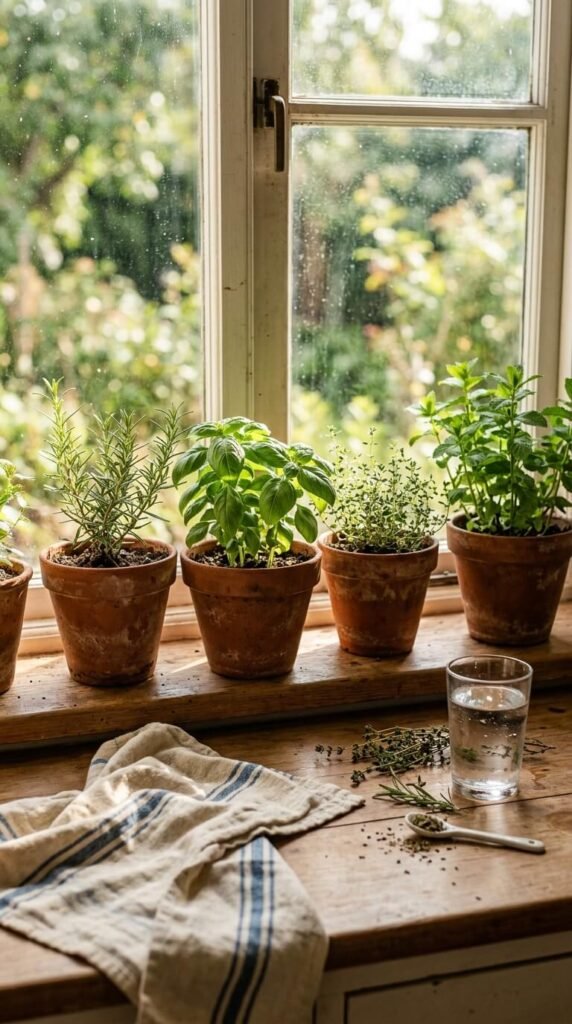
Growing herbs at home is one of the smartest moves you can make in the kitchen. When your herbs live within arm’s reach, you actually use them. Meals get more flavor. Food waste drops. And your space — whether it’s a cramped apartment or a sprawling backyard — starts pulling double duty as both a garden and a pantry. The display matters just as much as the plants themselves. A well-placed herb setup looks beautiful, stays organized, and keeps plants healthy long enough to make it onto your plate. Whether you’ve got a single sunny windowsill or a full outdoor patio, these 25 herb garden display ideas will help you grow smarter, cook better, and spend less at the grocery store.
1. Windowsill Row of Terracotta Pots
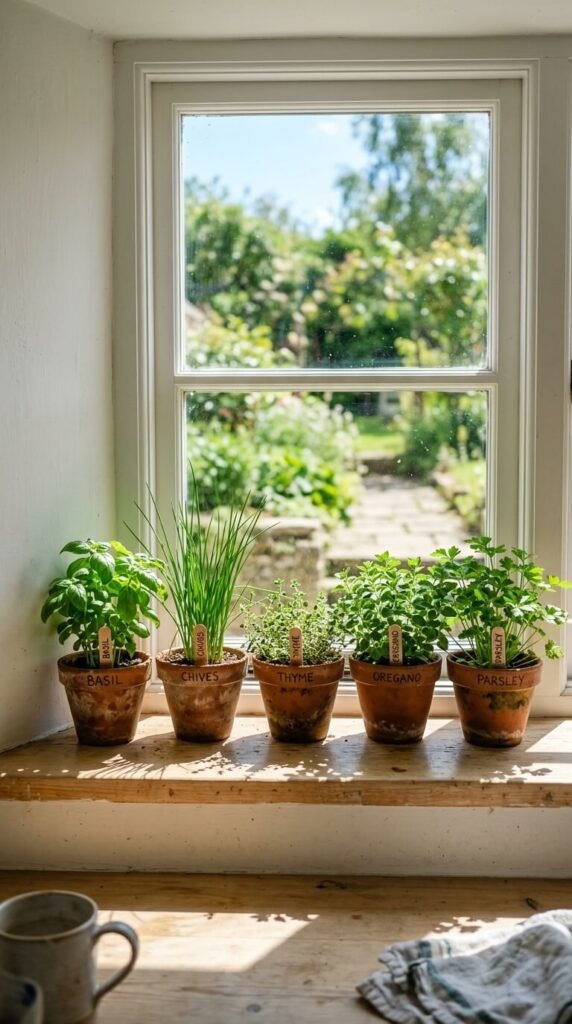
Terracotta pots are cheap, widely available, and breathe well for roots. Line them up on your sunniest windowsill. Face them south if you’re in the Northern Hemisphere for maximum light. Each pot gets one herb. Label them with masking tape and a marker if you tend to forget what’s what. A set of six 4-inch pots costs under $15 at most garden centers. This is the easiest starting point. Even beginners keep herbs alive this way.
2. Hanging Macramé Pocket Planter
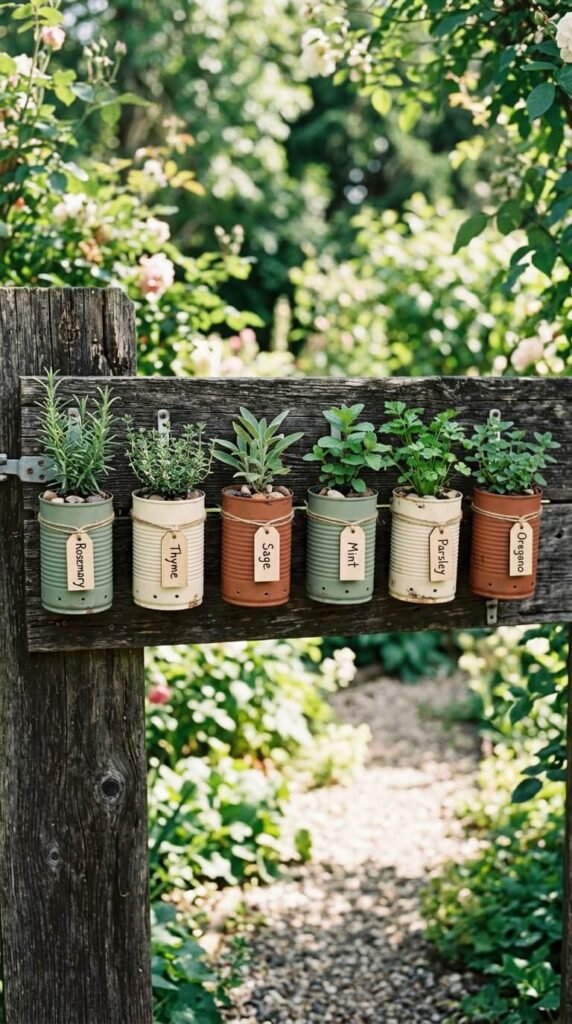
Macramé planters take herbs off the counter entirely. They free up prep space and add visual warmth. You can buy a ready-made version for under $20 or make one with basic jute rope from a craft store. Use it near a window to keep light access strong. This works especially well for trailing herbs like mint and thyme. Tuck small plastic pots inside each pocket. When one herb is harvested down, swap in a fresh pot.
3. Upcycled Tin Can Herb Wall
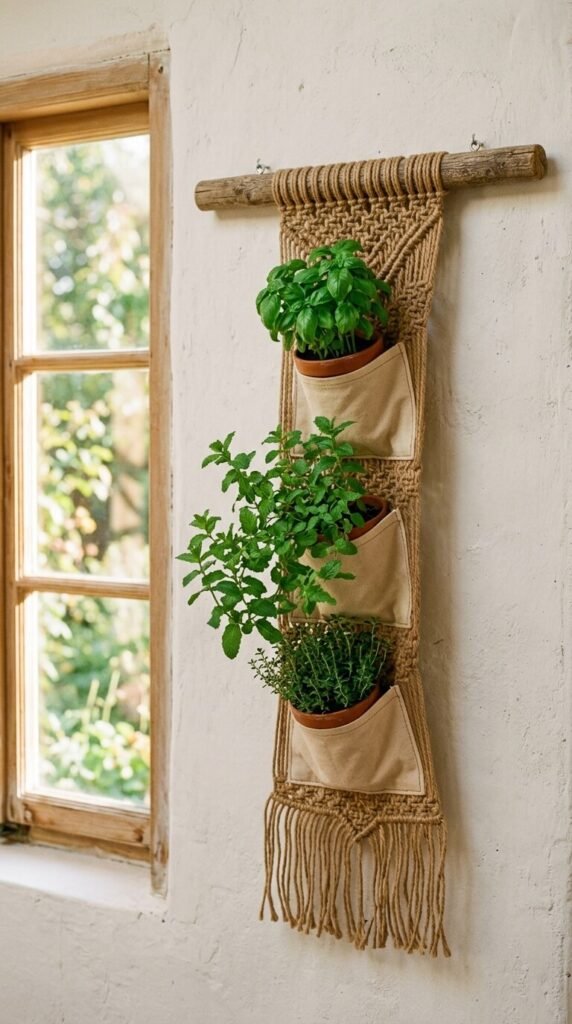
Save your soup and bean cans. Rinse them, punch drainage holes in the bottom with a nail, and mount them to a wooden board with hose clamps or wire. Paint them with exterior paint if you want. This costs almost nothing. Hang the whole board on a fence, balcony railing, or exterior wall. It handles basil, chives, parsley, and cilantro well. Cans dry out faster than larger pots, so water every day or two in warm weather.
4. Tiered Wooden Ladder Shelf
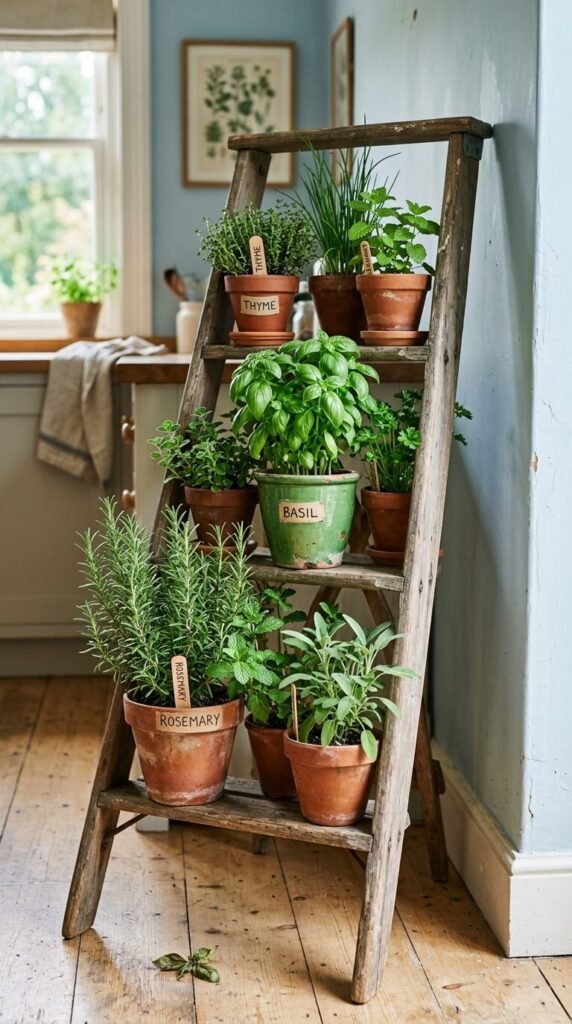
A small wooden ladder shelf turns a corner into a proper herb station. You can find them at thrift stores for a few dollars or buy a basic one at a home goods shop. Place the tallest, most heat-tolerant herbs on top where light is strongest. Shorter, shade-tolerant ones go lower. This arrangement also looks great in a kitchen corner or on a covered patio. Sand it down and seal it with a clear coat to protect against moisture.
5. Magnetic Herb Tins on the Fridge
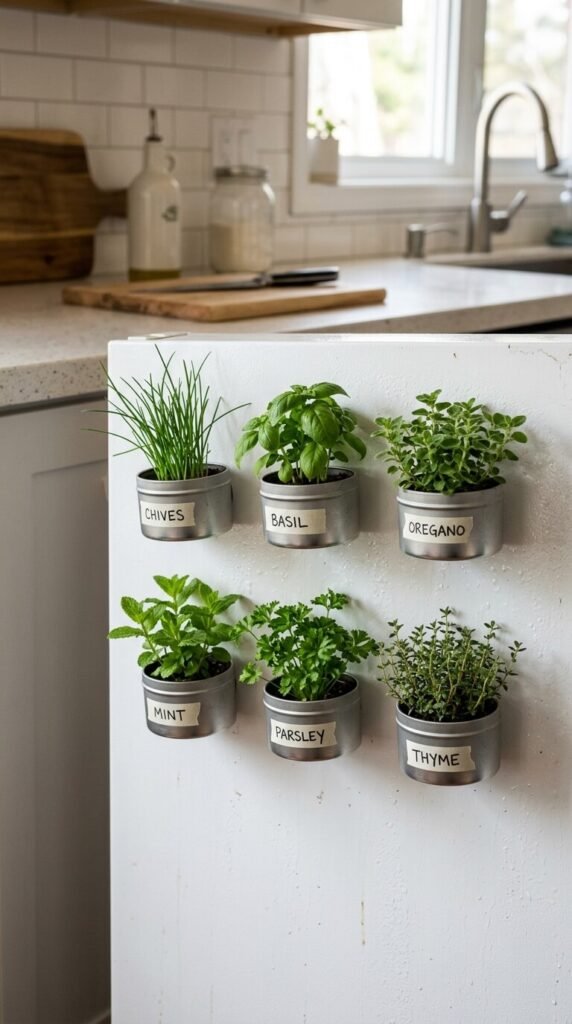
This one surprises people. Metal tins with strong flat magnets glued to the back stick right to the fridge. Fill them with a bit of soil and a single herb cutting. Chives, basil, and mint grow well this way when the kitchen gets decent light. The tins are shallow, so water little and often — just a tablespoon at a time. This works best as a short-term harvesting station rather than a long-term garden. Refresh cuttings monthly.
6. PVC Pipe Vertical Tower
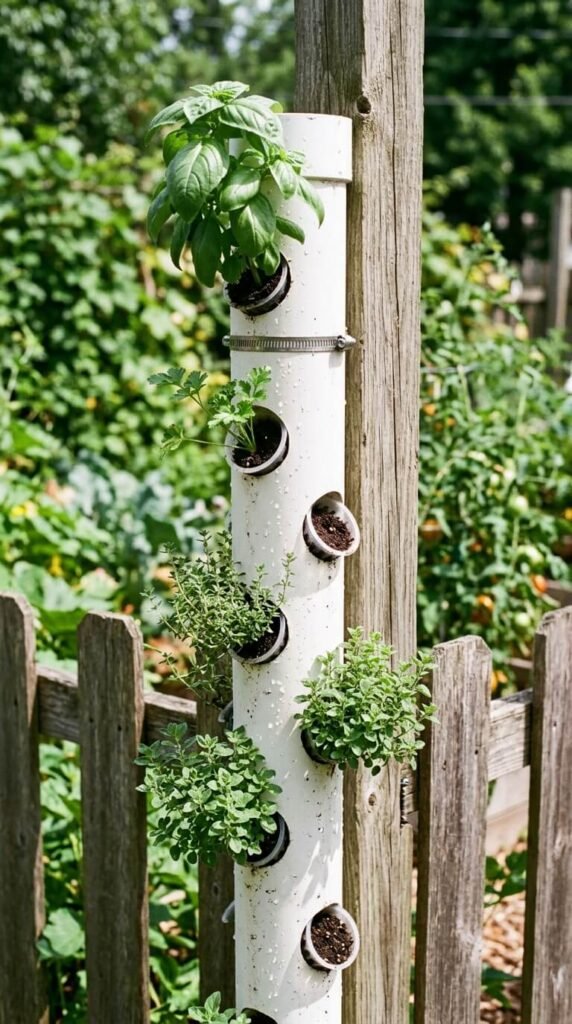
PVC pipe towers grow a lot of herbs in almost no floor space. Cut a 4-inch pipe into 4-foot sections, drill 2-inch holes every 8 inches, fill with a mix of potting soil and perlite, and plant herbs into each hole. Cap the bottom and add drainage holes there. Stand it upright in a pot of sand or anchor it to a fence. Water from the top and it moves through to every level. Great for patios and balconies.
7. Repurposed Wooden Crate Display
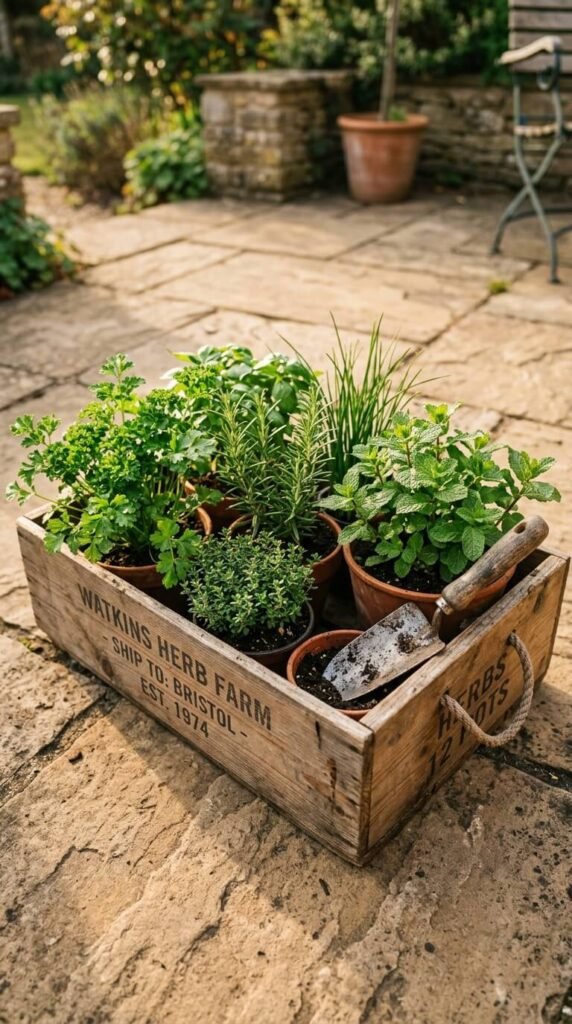
Old wooden crates make instant herb gardens. Line the inside with burlap or landscape fabric to hold soil, then plant directly or drop in individual pots. Crates are portable — move them into sun, bring them in before a frost, carry them to the table when cooking outdoors. Wine crates work especially well because they’re solid and attractive. Find them free behind liquor stores or wine shops. A coat of linseed oil protects the wood from moisture.
8. Hanging Gutter Garden on a Fence
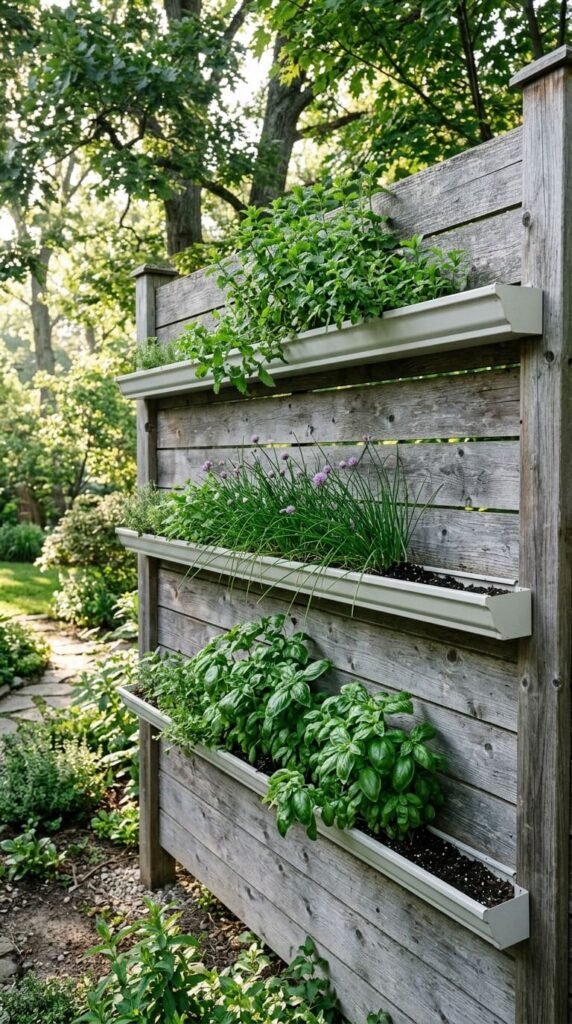
Vinyl rain gutters cost about $5 per section at hardware stores. Mount three or four horizontally across a fence with gutter brackets, cap the ends, drill drainage holes every 6 inches, fill with soil, and plant. This works for shallow-rooted herbs like chives, lettuce, and cilantro. The display looks neat from the side and uses fence space that’s usually wasted. The whole setup can be done in a weekend afternoon.
9. Kitchen Island Pot Cluster
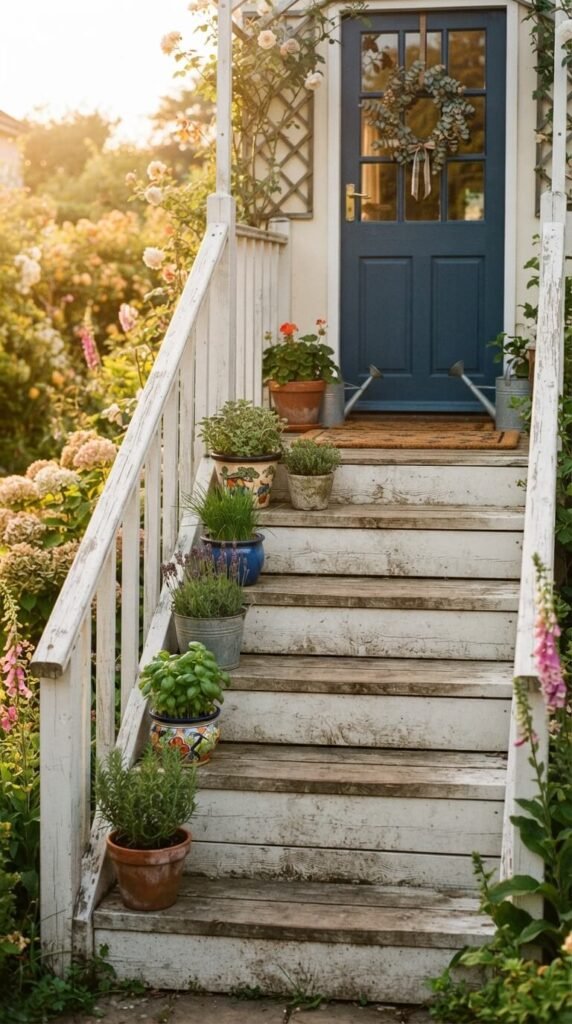
Clustering pots on a kitchen island puts herbs exactly where you cook. Group pots of different heights to create visual depth. Tuck a small tray or platter underneath to catch drips and tie the group together visually. Mix textures — terracotta next to a glazed ceramic next to a simple plastic pot. What the pots look like matters less than where they are. Keep scissors or small shears nearby for quick harvesting while you cook.
10. Old Colander Hanging Basket
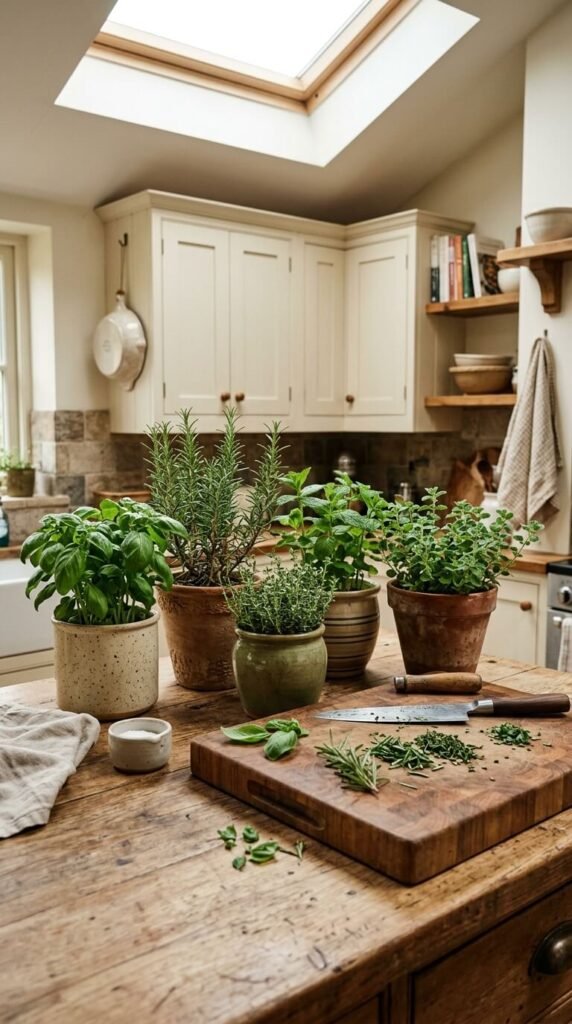
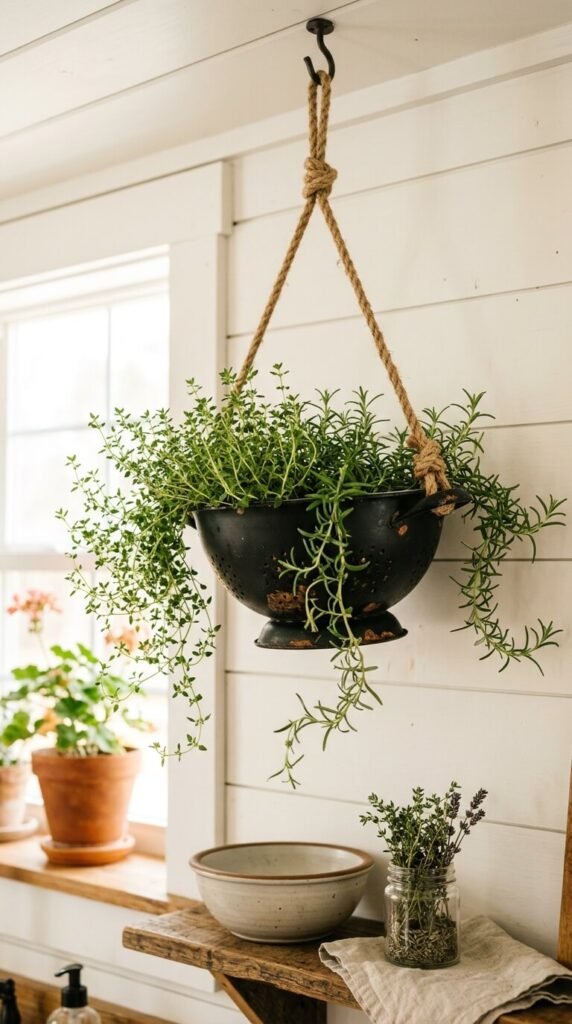
A colander already has drainage holes built in. Hang one from a ceiling hook with rope or a chain and fill it with potting mix. It works as a hanging basket for trailing herbs. Thyme, creeping rosemary, and mint all work well. Paint the colander if you want a more finished look. Find vintage ones at thrift stores for under $5. The more beat-up and well-loved it looks, the better the final effect.
11. Stepped Staircase Herb Display
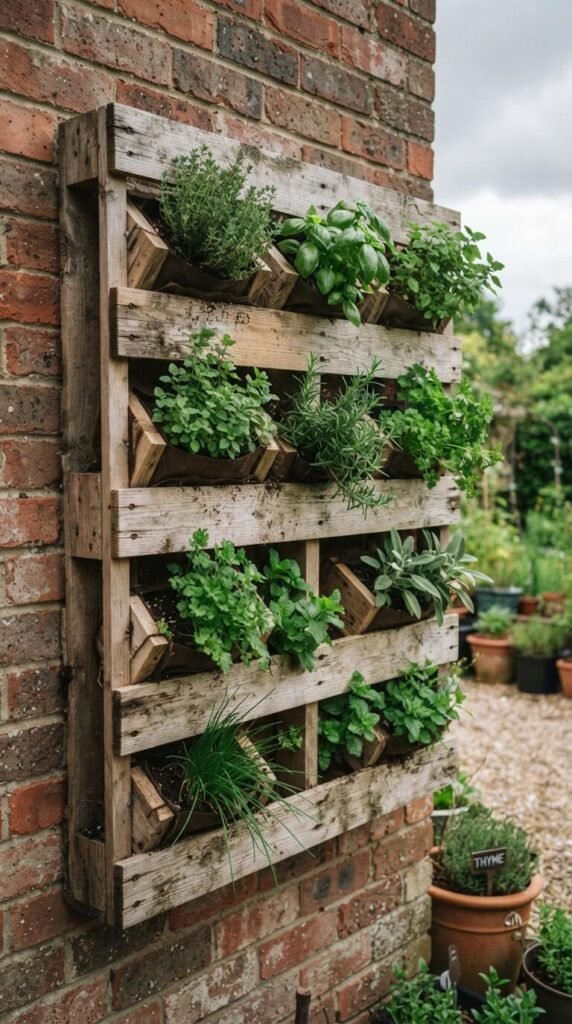
If you have outdoor stairs, you already have a herb display rack. Place one pot per step. Vary the pot sizes to match the step depth — wide steps hold bigger pots, narrow steps hold small ones. Keep the most-used herbs closest to the door so they’re grabbed easily while cooking. Rosemary near the top, basil closer to the kitchen entrance. This also works on indoor staircases near a window.
12. Reclaimed Pallet Herb Wall
A pallet herb wall sounds complicated but it’s not. Lay a pallet flat. Staple landscape fabric along the back and bottom, creating pockets between each slat. Stand it upright, fill the pockets with soil, and plant herbs into the gaps. Secure it against a wall or fence with two screws and wire for safety. Look for free pallets behind grocery stores or hardware shops. Always use heat-treated pallets — they’re stamped HT — and avoid chemically treated ones.
13. Mason Jar Herb Station on a Shelf
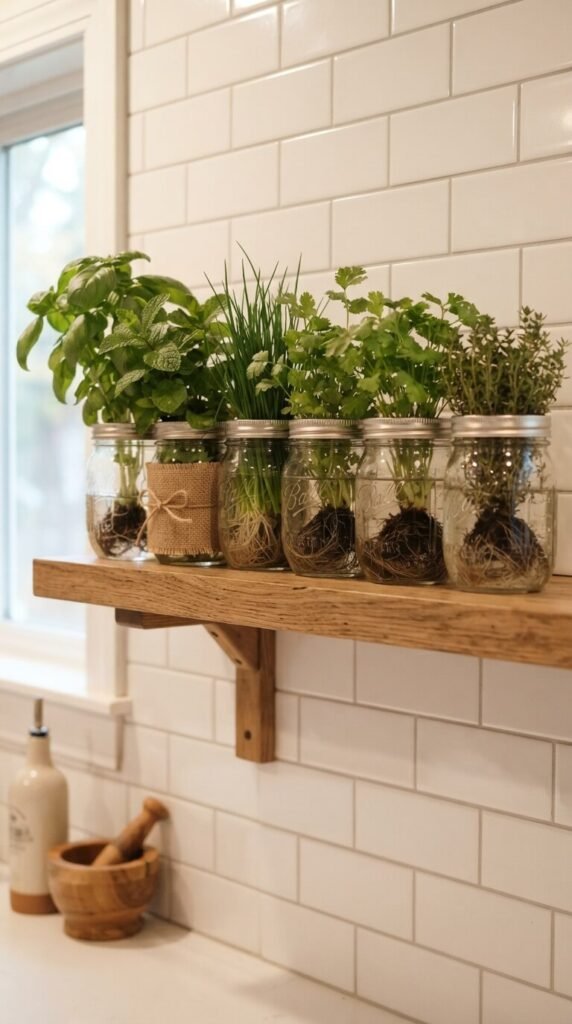
Mason jars let you grow herbs in water, no soil needed. Cut herb stems just below a leaf node and submerge the bottom inch in water. Change the water every few days to keep it from going cloudy. Basil, mint, and green onions thrive this way. Line the jars on a shelf above the sink where there’s natural light and easy access. Dark jars slow algae growth — or wrap clear jars with paper to block the light.
14. Hanging Shoe Organizer Garden
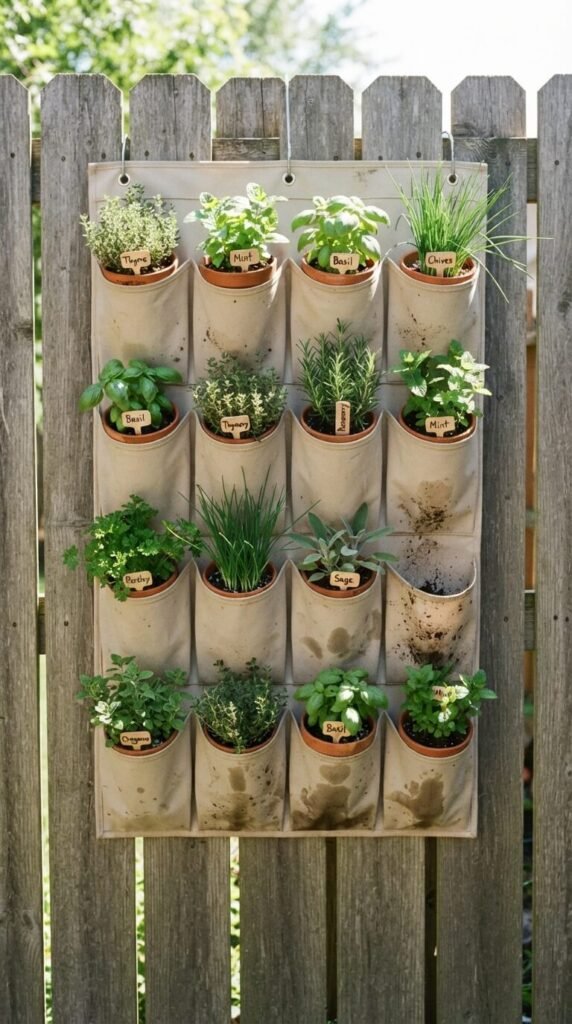
A fabric shoe organizer has 12 to 24 pockets. Each one holds a small pot. Hang it on a sunny fence or exterior door. This is one of the lowest-cost vertical gardens you can make — organizers run $5 to $10. Use it for herbs that don’t need deep root space: chives, basil, mint, parsley, cilantro. Pockets dry out quickly, so water daily in summer. This works especially well on a south-facing wall or fence.
15. Built-In Kitchen Drawer Herb Tray
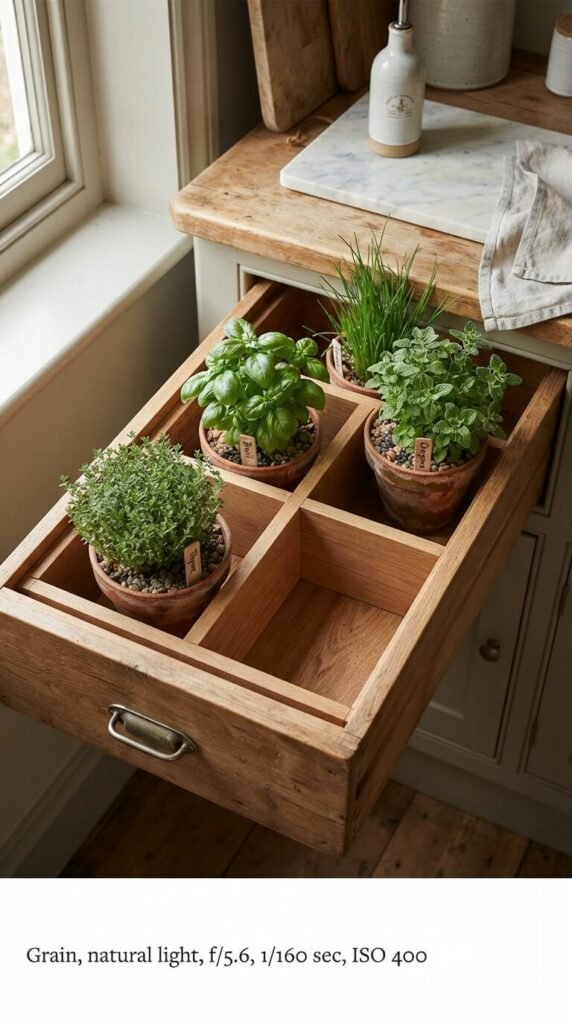
Turn a deep kitchen drawer into an herb drawer. Build or buy a simple wooden insert with separate compartments. Each compartment holds one small pot. The drawer stays closed to keep the herbs out of the way when not cooking. Open it when you need to harvest. This keeps counters clear and herbs accessible. Use only herbs that don’t need constant sunlight — dried or semi-dried herbs work here too. Swap out pots every few weeks as needed.
16. Balcony Railing Planter Box Setup
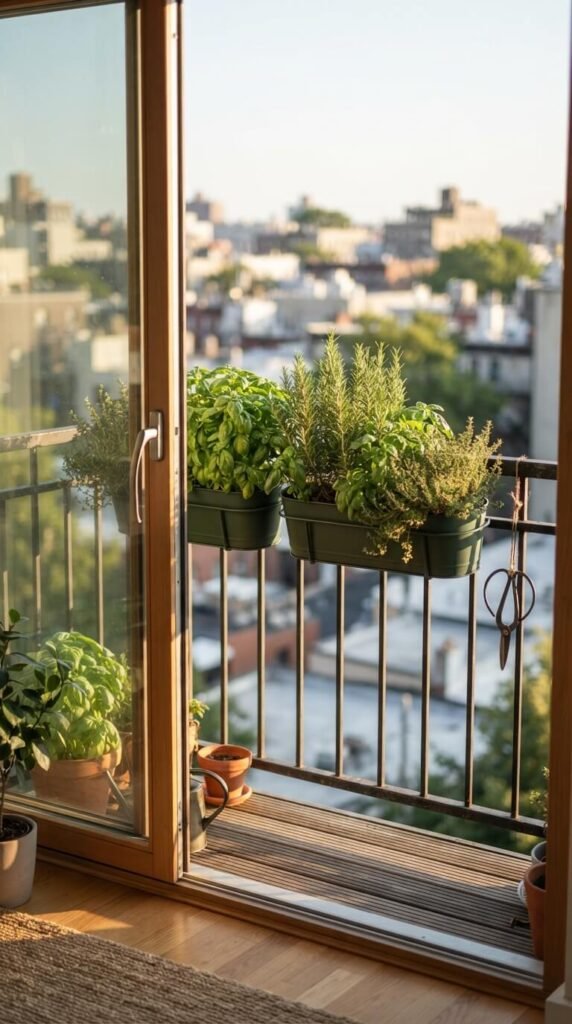
Railing planter boxes clamp directly onto a balcony rail. They hold more plants than individual pots and use zero floor space. Fill with a mix of herbs that have similar water needs — rosemary, thyme, and oregano all prefer drier conditions and work well together. Plant basil separately since it needs more water. A two-foot box holds four to six herb varieties. These boxes are inexpensive — $15 to $30 — and need no drilling.
17. Garden Bed Herb Border
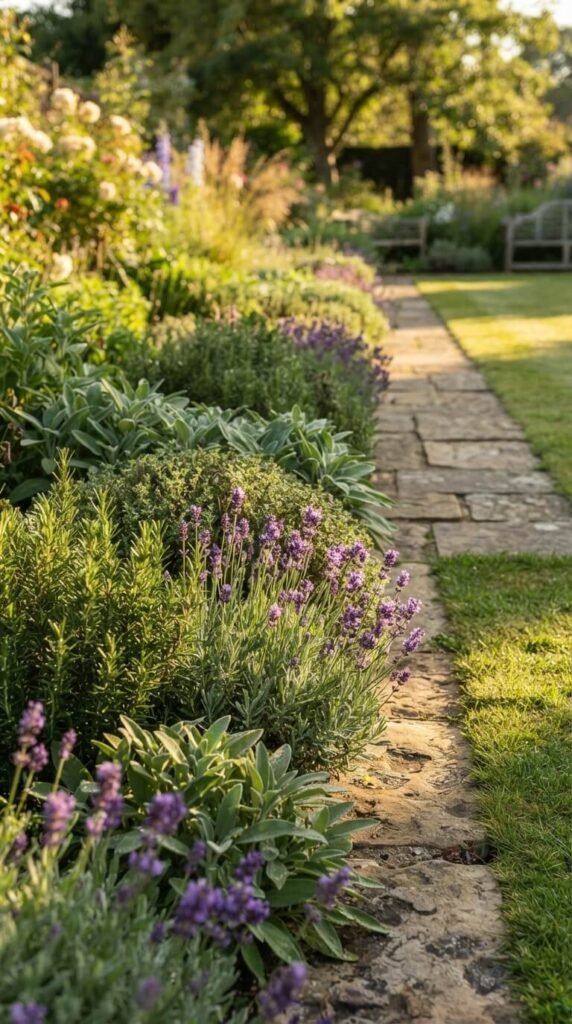
Use herbs as ornamental border plants in a garden bed. Lavender, sage, rosemary, and thyme all make beautiful low hedges along a path or bed edge. They’re hardy, low-maintenance, and visually dramatic. Plant in a single row along any garden edge that gets at least six hours of sun. These perennial herbs come back each year. Once established, they need almost no watering. The bonus: every time you brush past them, your hands smell incredible.
18. Window Box Below a Kitchen Window
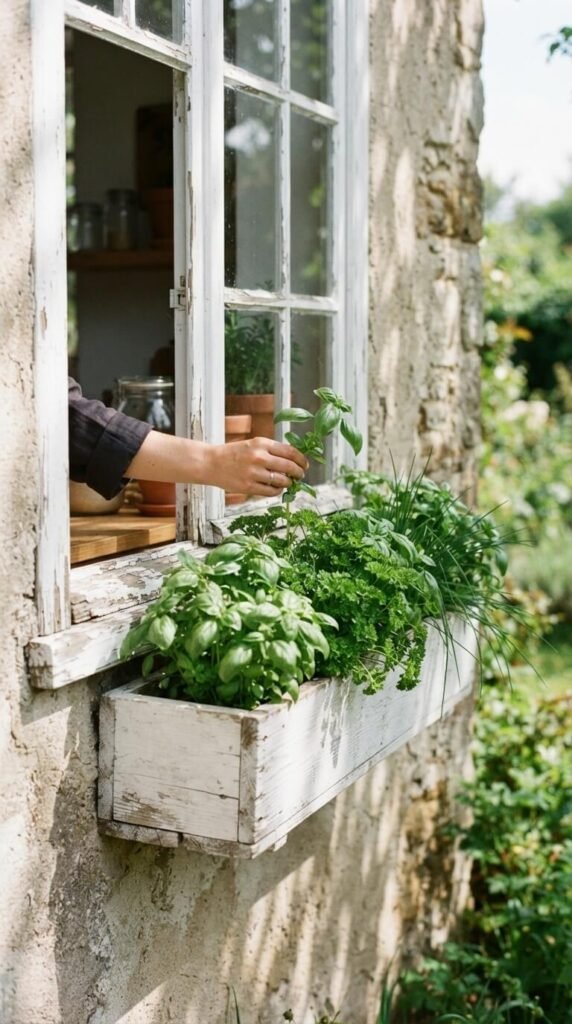
A window box outside the kitchen window is the most practical placement possible. You can harvest herbs without even going outside. Mount a box under any kitchen window that faces the sun. Use a mix of basil, parsley, chives, and mint — plants that recover quickly from cutting. Window boxes need daily watering in warm months. Add a slow-release fertilizer at planting time to reduce feeding frequency. Most boxes mount with two brackets and four screws.
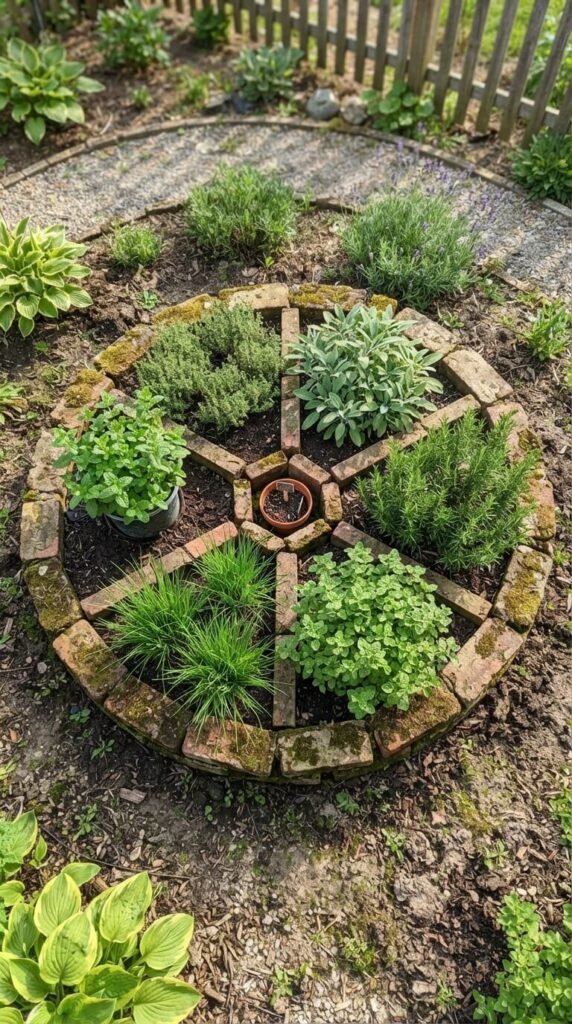
19. Herb Wheel in the Ground
A herb wheel is a classic kitchen garden layout. Mark a circle in the ground and divide it into six to eight pie-slice sections with bricks, stones, or wood. Plant one herb per section. Keep mint in a buried pot — it spreads aggressively and will take over neighboring sections otherwise. This design makes harvesting easy and looks striking from above. It works in any open garden space with full sun. The whole setup costs very little if you use found materials.
20. Hanging Wooden Board with Hooks
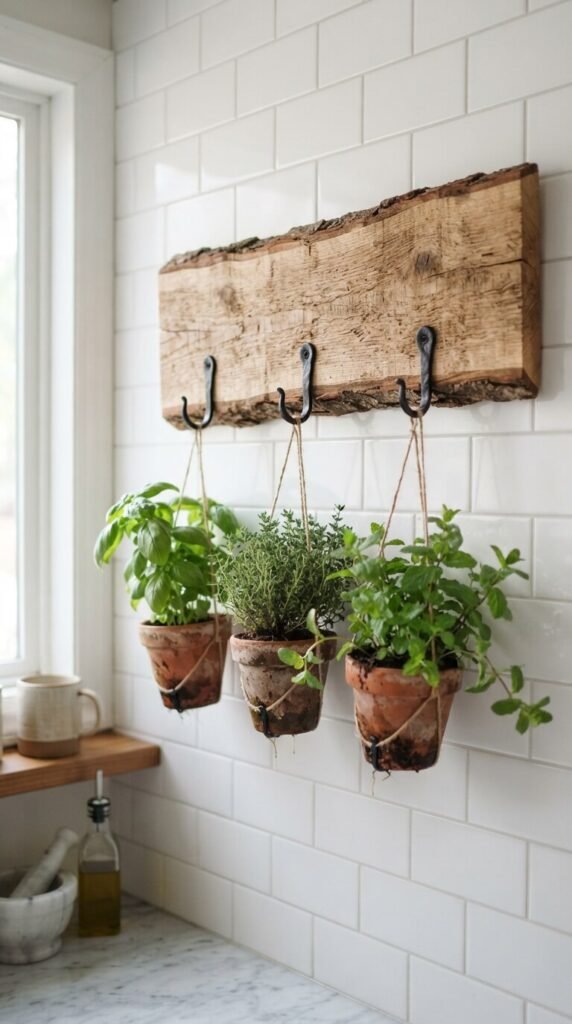
Mount a thick wood board on the wall and add cup hooks or iron pegs. Hang small pots from the hooks using wire or jute. This is purely functional and looks like a piece of kitchen art. It costs almost nothing — a scrap of timber, some hooks, a length of wire, and a few small pots. Use S-hooks if you want easy swapping of pots in and out. Hang it where it gets reflected light from a nearby window, even if it’s not in direct sun.
21. Floating Shelf Herb Corner
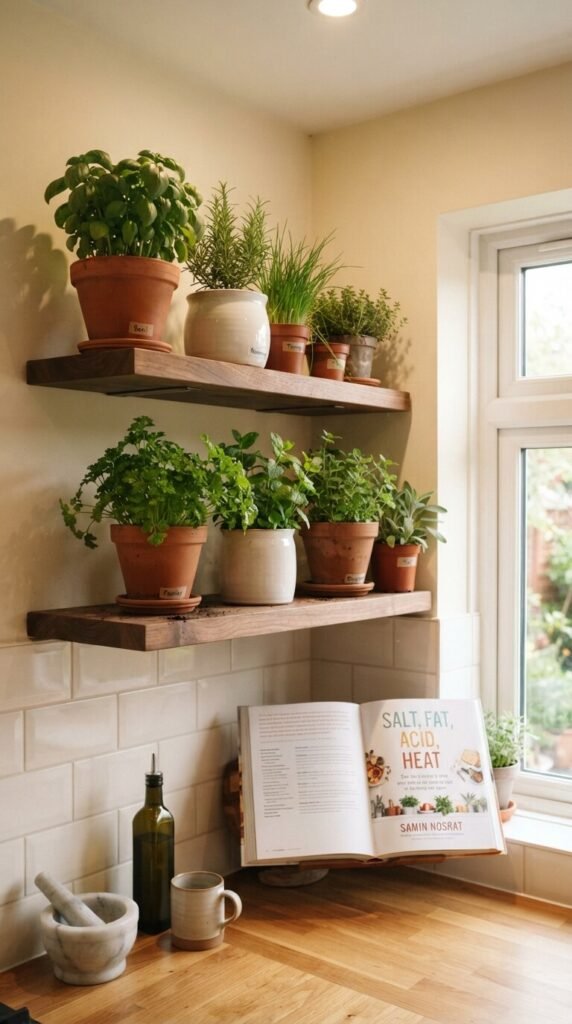
Corner shelves turn dead kitchen space into prime herb real estate. Mount two floating shelves at different heights in a corner near your prep area. Use the top shelf for plants needing more light and the lower one for shade-tolerant herbs like parsley and mint. Floating shelves are inexpensive and require only a drill and level to mount. Group pots loosely — they don’t need to look perfect. A mix of pot sizes and materials looks more natural than matching sets.
22. Outdoor Potting Bench Herb Station
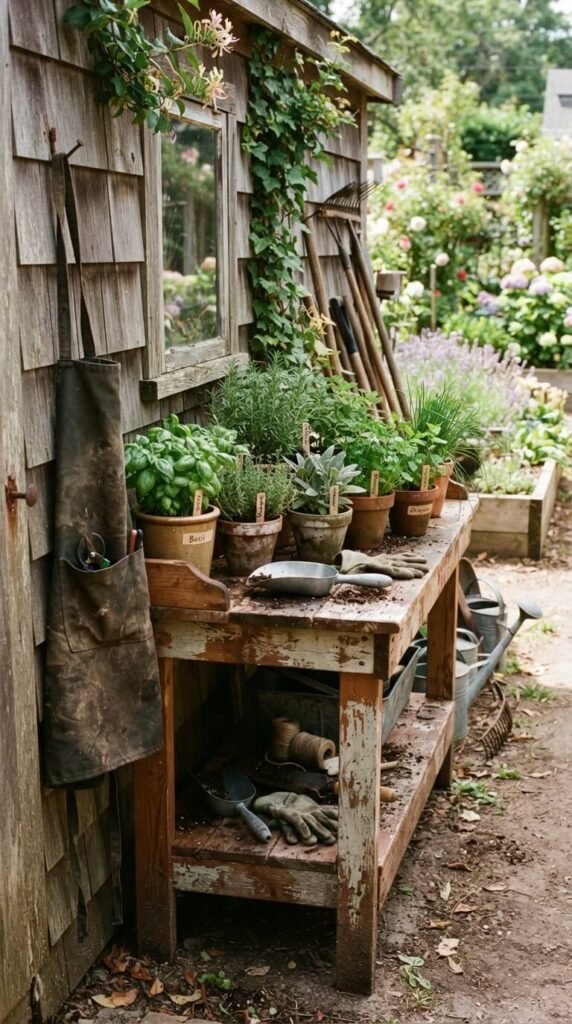
A potting bench in the garden serves double duty: a workspace and a display station. Line the bench top with all your herb pots in one organized, dedicated spot. Add hooks on the back board to hang small tools or bunches of drying herbs above the bench. Potting benches can be bought cheaply in flatpack form or built from reclaimed lumber in an afternoon. Keep it close to the kitchen entrance for easy access during meal prep.
23. Repurposed Ladder as Outdoor Herb Stand
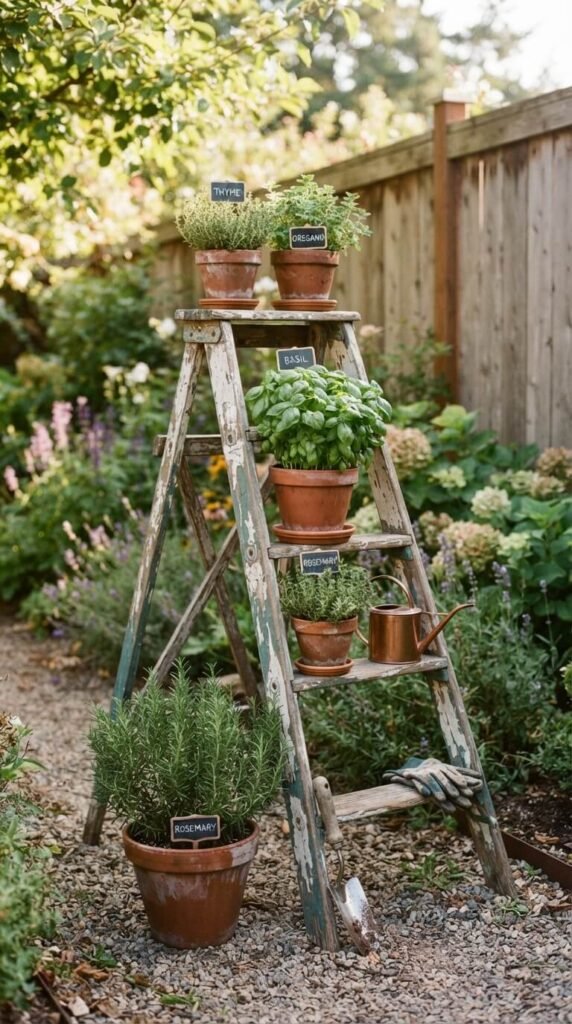
An old wooden ladder is one of the best free plant stands you’ll find. Sand it smooth, seal it with outdoor varnish, and set it up in the garden. Each rung holds one or two pots. Lean it against a fence for stability or use a stepladder that stands on its own. The tiered levels give every pot exposure to light without crowding. Check the rungs for rot before trusting them with heavy pots. Replace any cracked or soft wood before loading.
24. Indoor Greenhouse Cabinet for Herbs
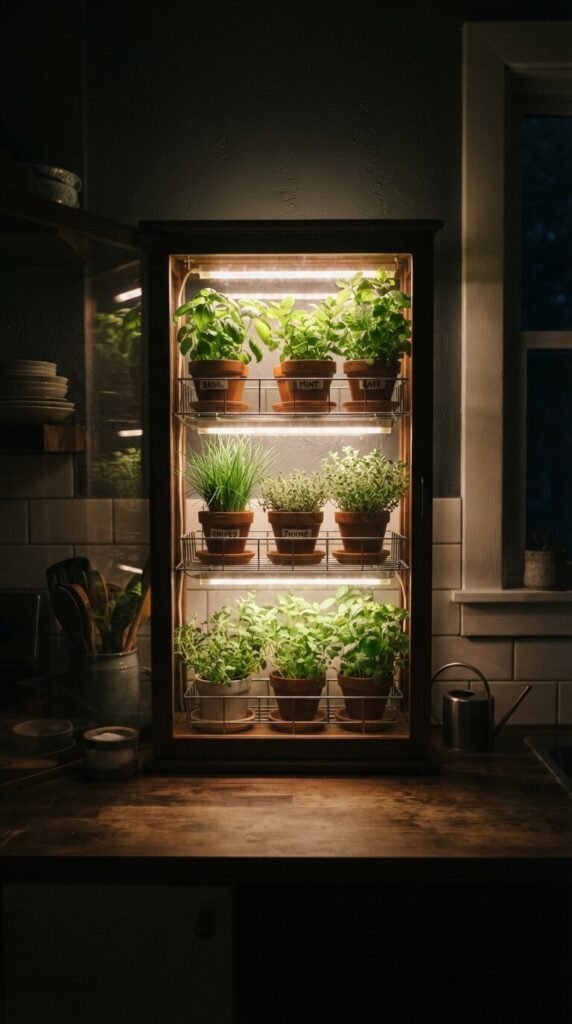
If your home doesn’t get much natural light, a small indoor cabinet with a grow light solves the problem. You can convert an IKEA display cabinet into an herb greenhouse by adding LED strip grow lights to each shelf. The glass front traps humidity and warmth. Herbs like basil and mint grow year-round in these setups regardless of the season or climate. This costs around $80 to $150 total to set up, depending on materials. It pays for itself in herbs grown.
25. Stone or Concrete Trough Display
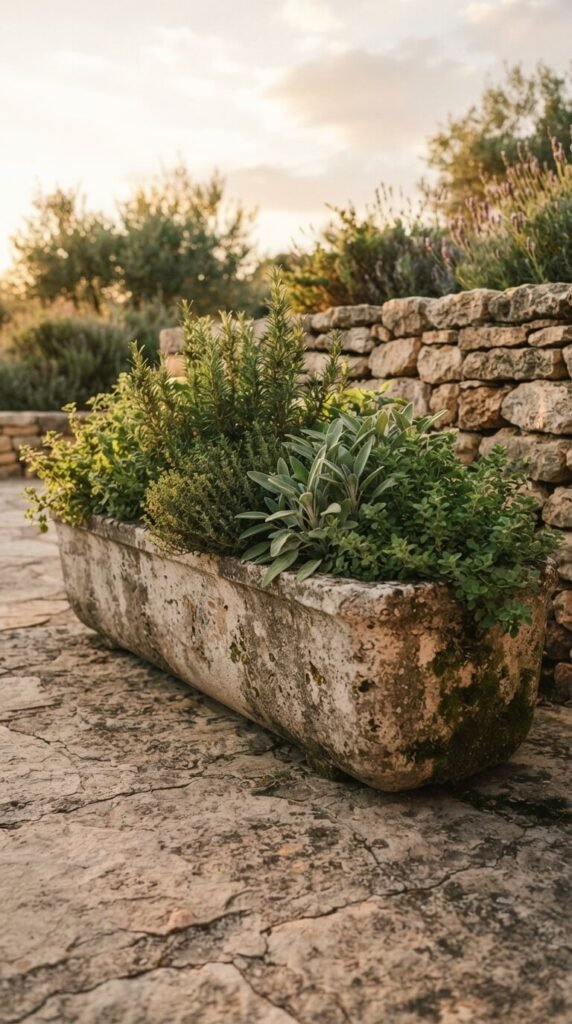
A heavy concrete or stone trough is the most permanent herb display option. These last for decades and look better as they age. Fill with a gritty, well-draining mix of two parts potting soil and one part horticultural grit. Plant Mediterranean herbs — rosemary, thyme, sage, and oregano — since they love the sharp drainage. Troughs can be found at salvage yards and antique markets for $20 to $80 depending on size. New hypertufa troughs can be cast at home using cement, perlite, and peat moss for very little cost.
Conclusion
A herb garden display doesn’t require a big budget, a large space, or any special skills. What it does require is a spot with decent light and a decision to start. Pick the idea that matches your space — whether that’s a row of tins on a fence, a few mason jars on a shelf, or a planted trough on a patio — and do it this weekend. The closer your herbs are to where you cook, the more you’ll use them. And the more you use them, the better your meals get. These displays aren’t just decoration. They’re a practical system that turns a living plant into tonight’s dinner. Start small, harvest often, and expand as you learn what grows best in your space.